
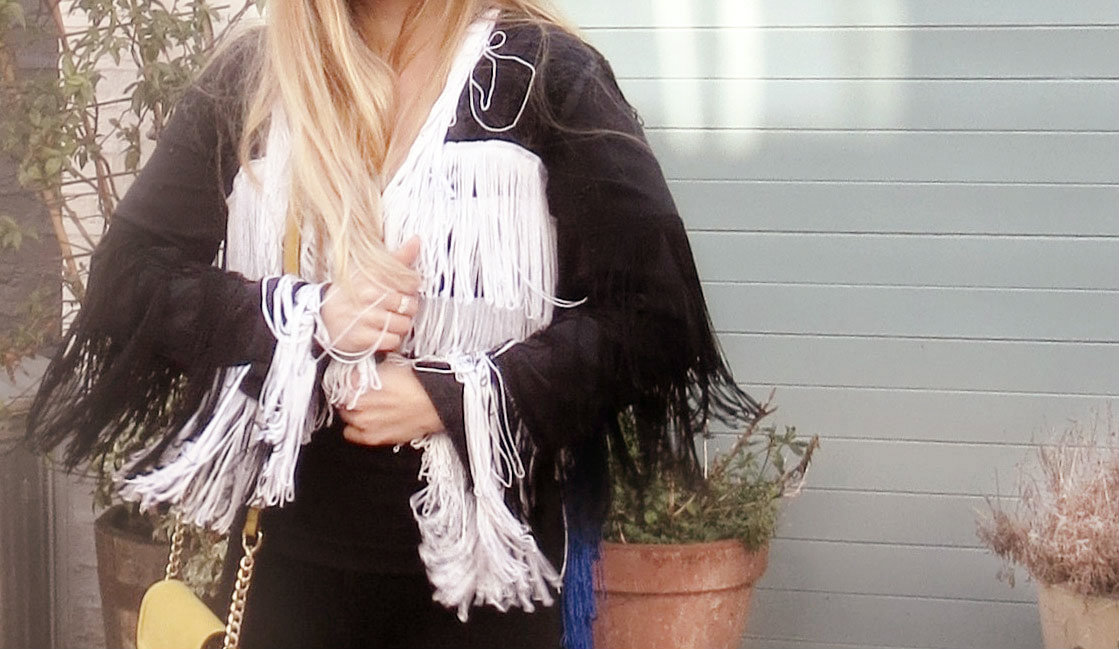
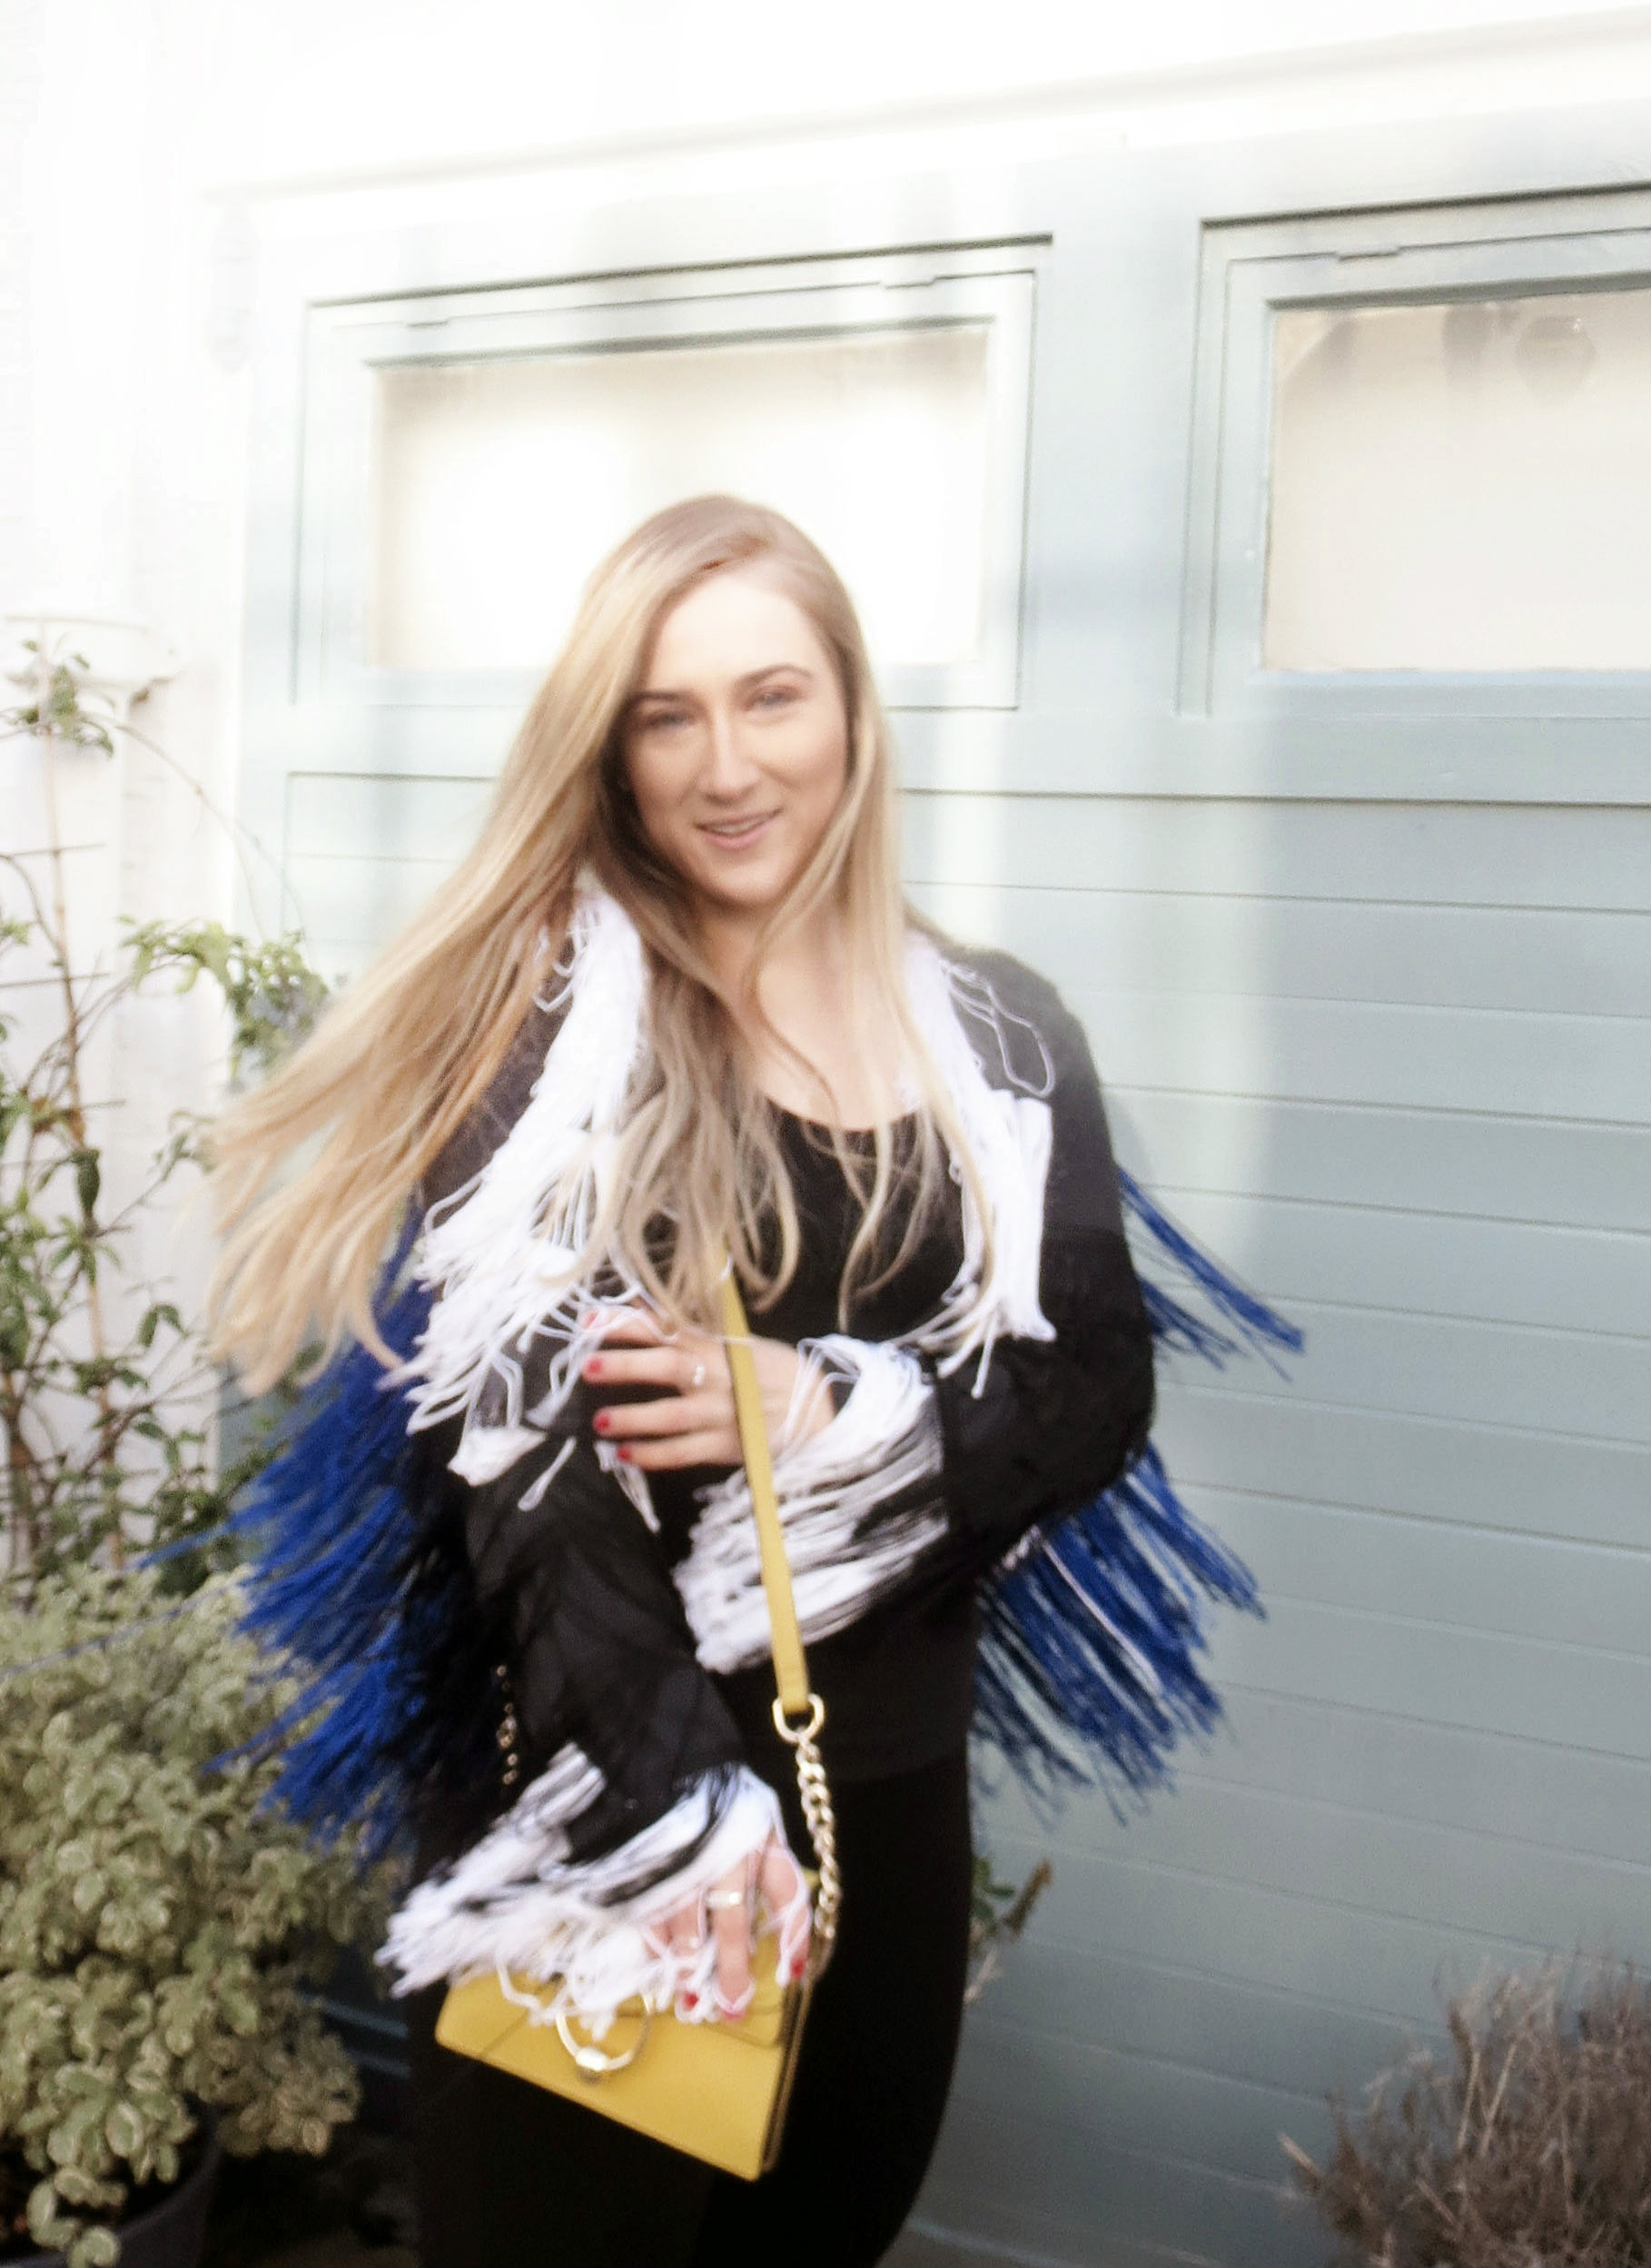
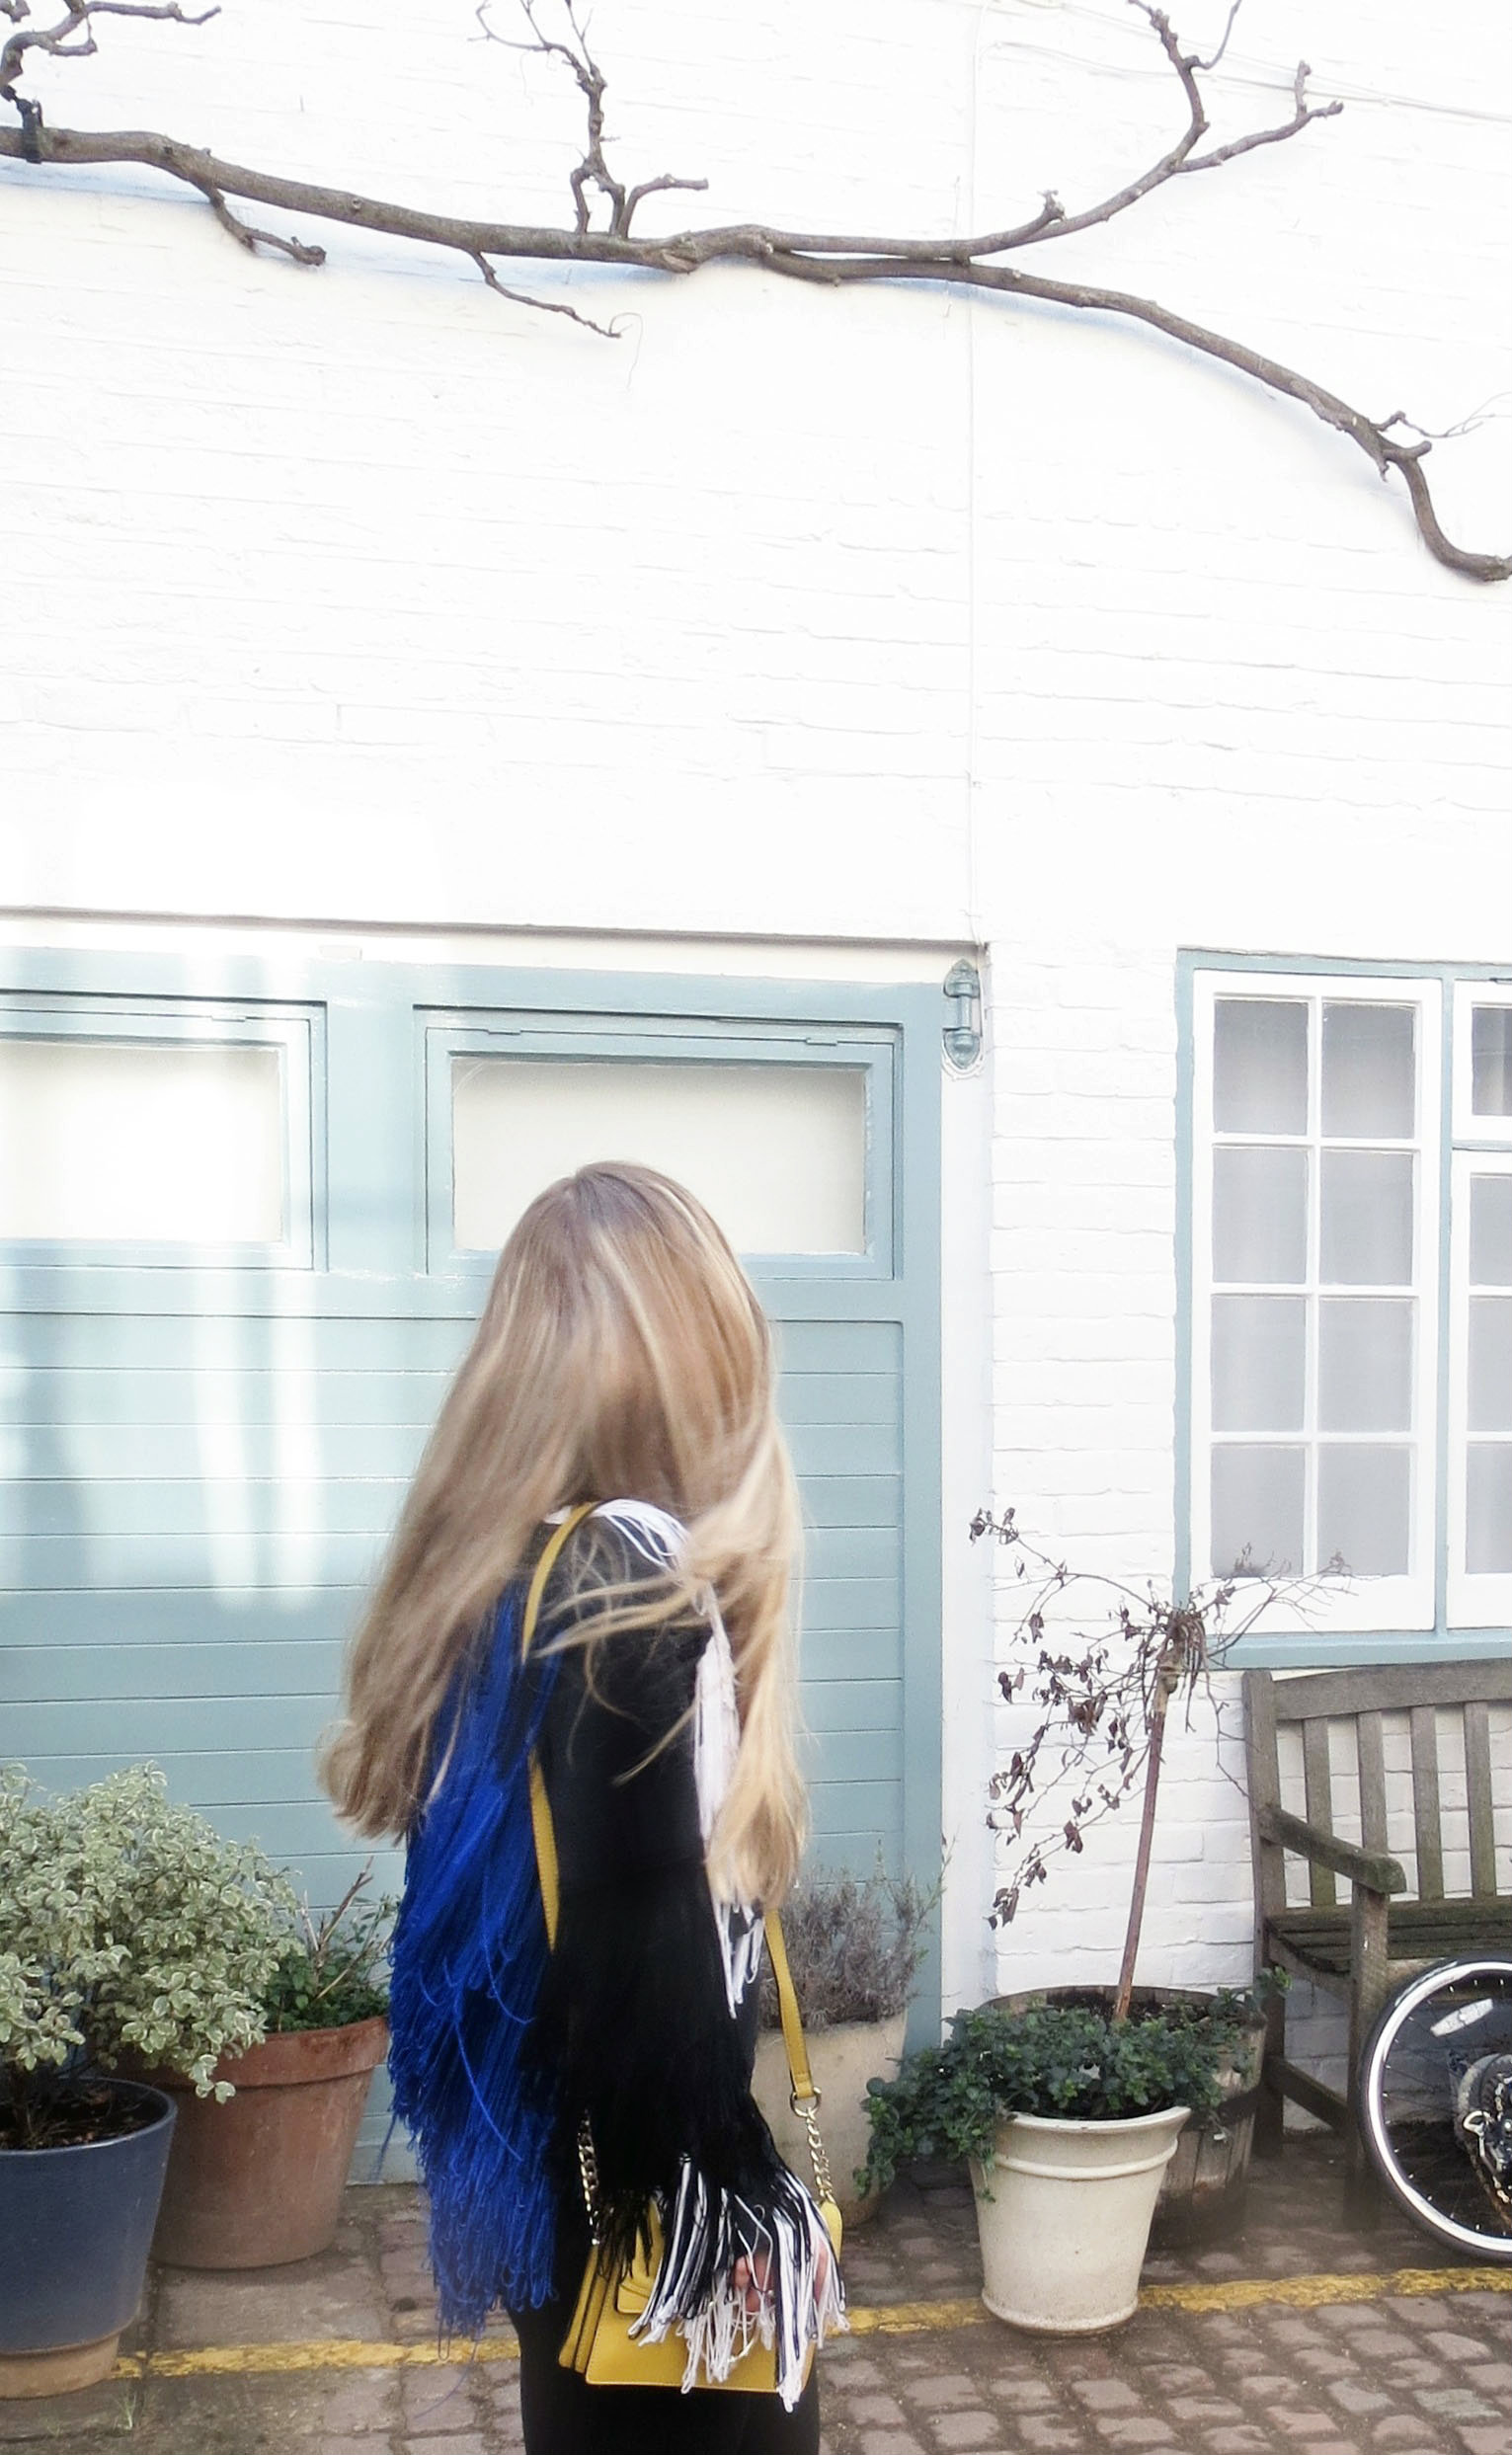
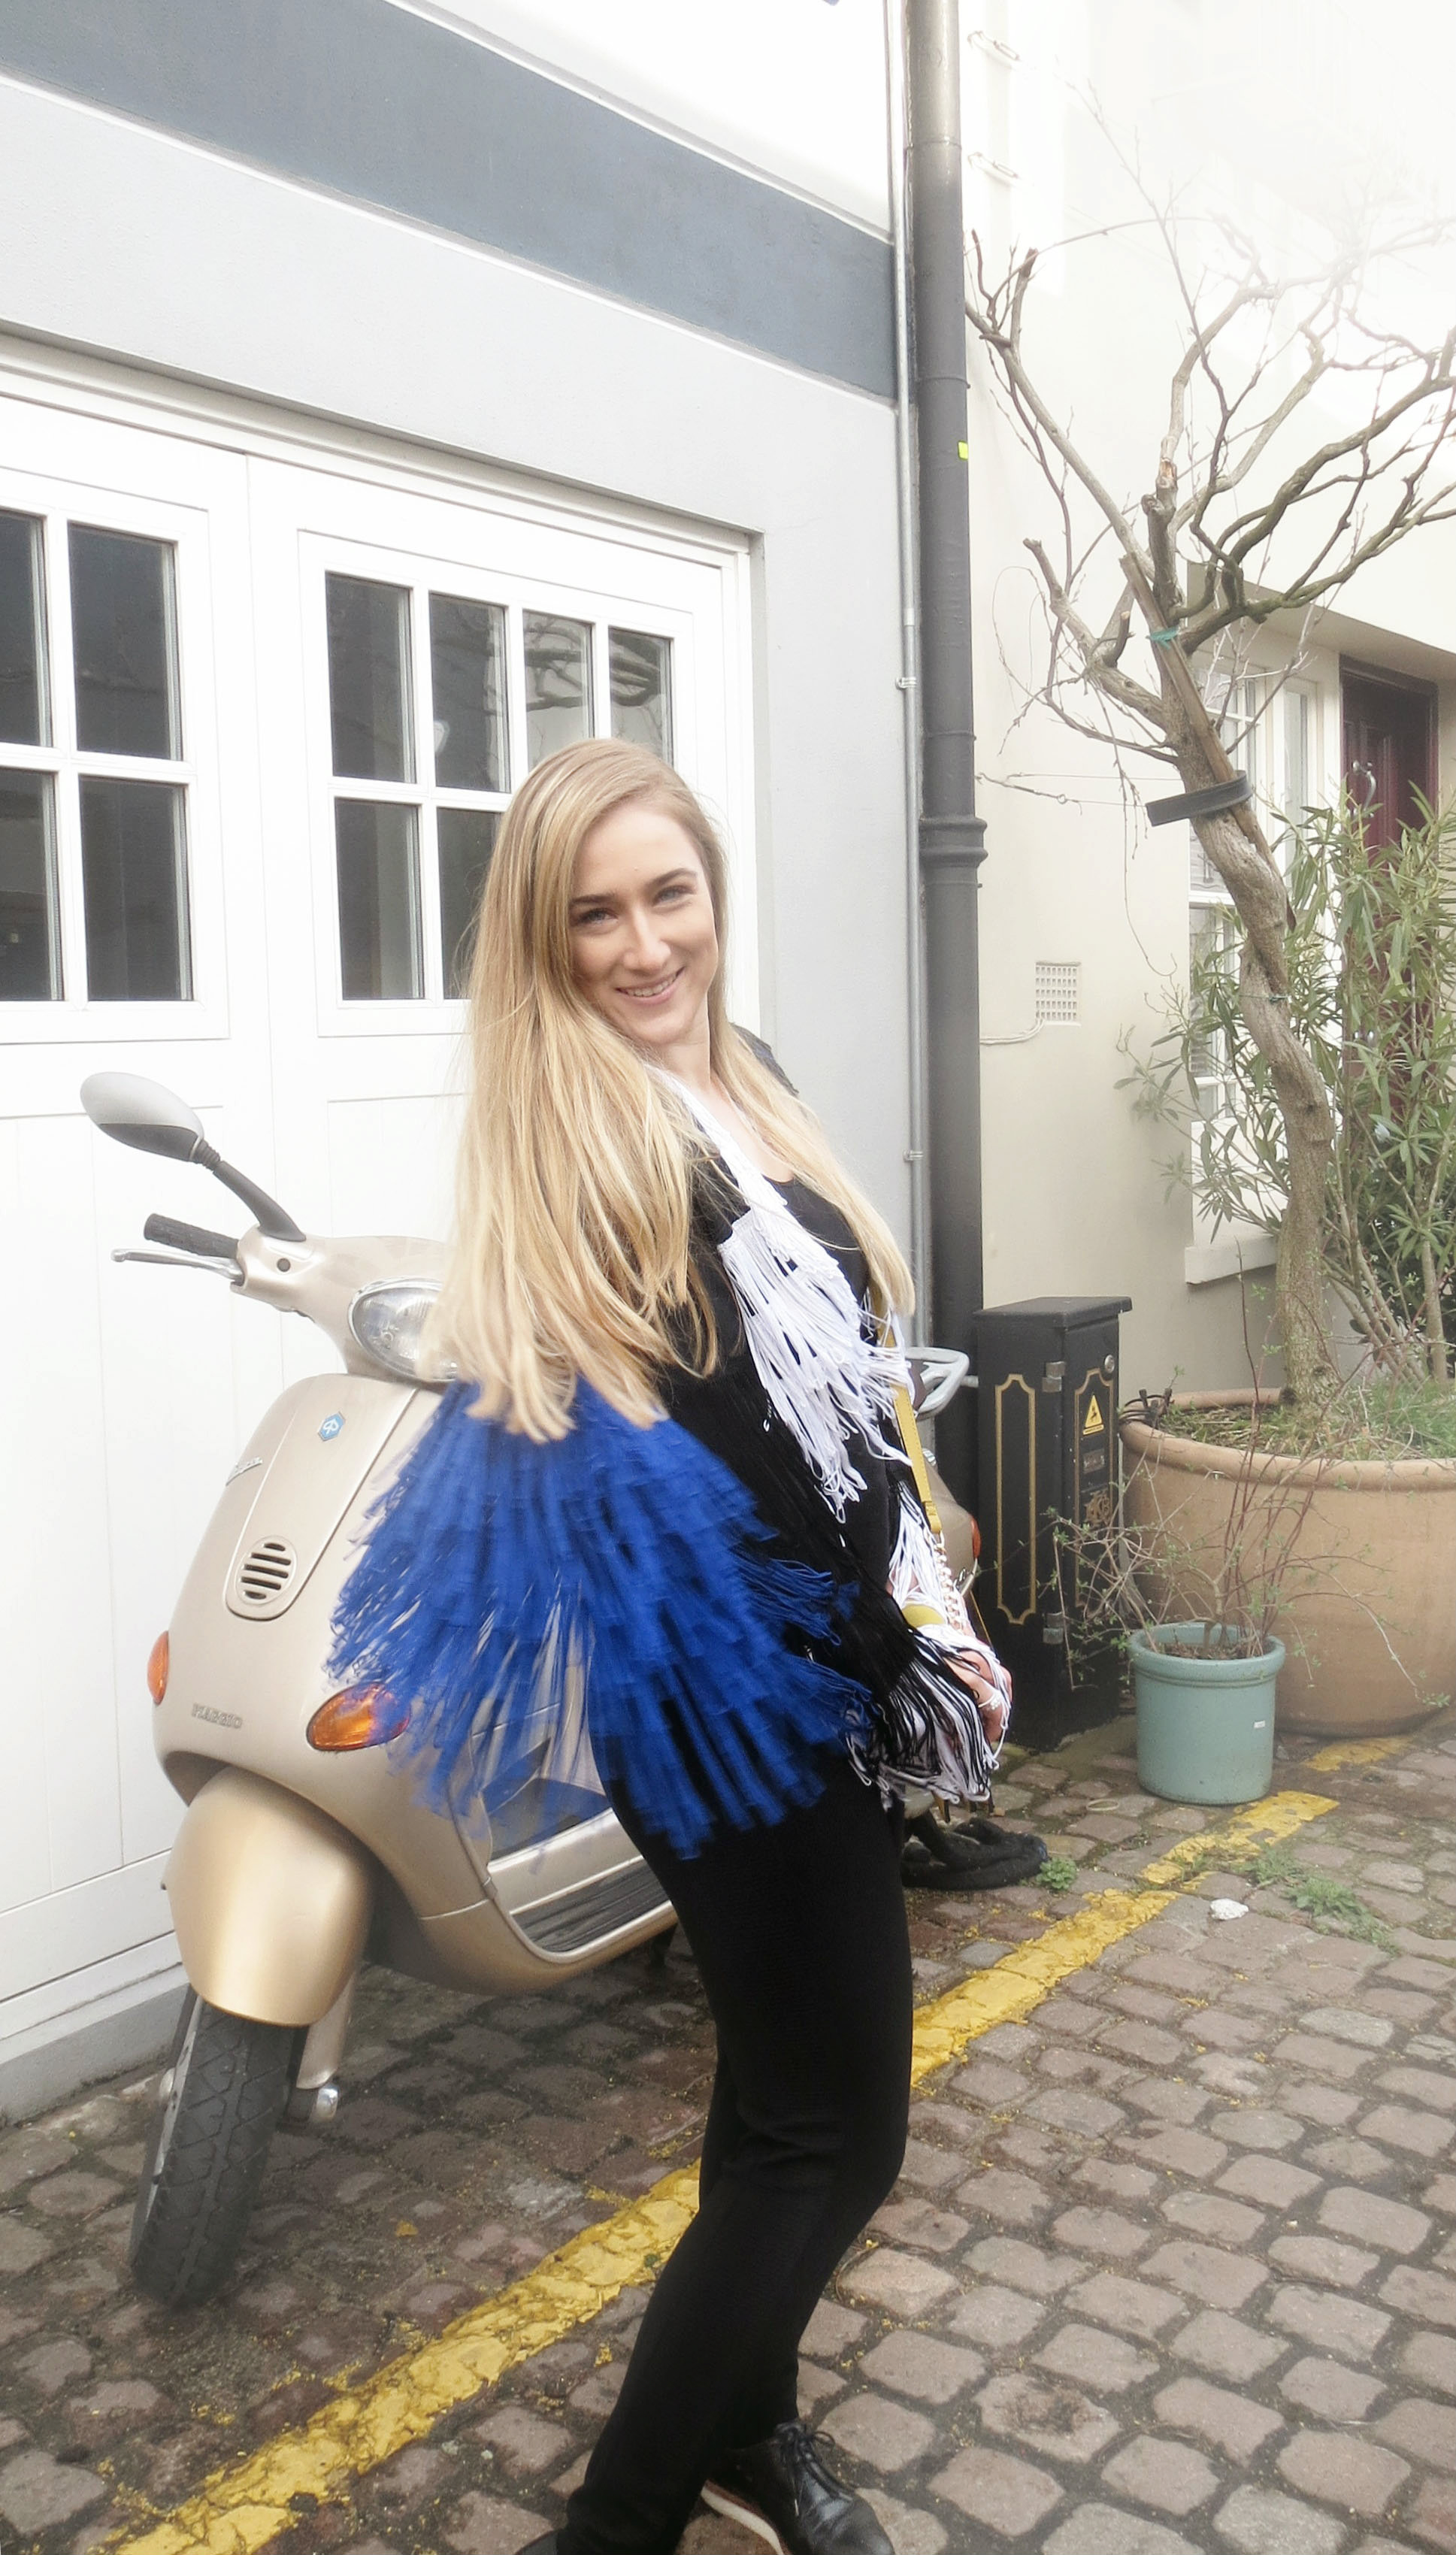
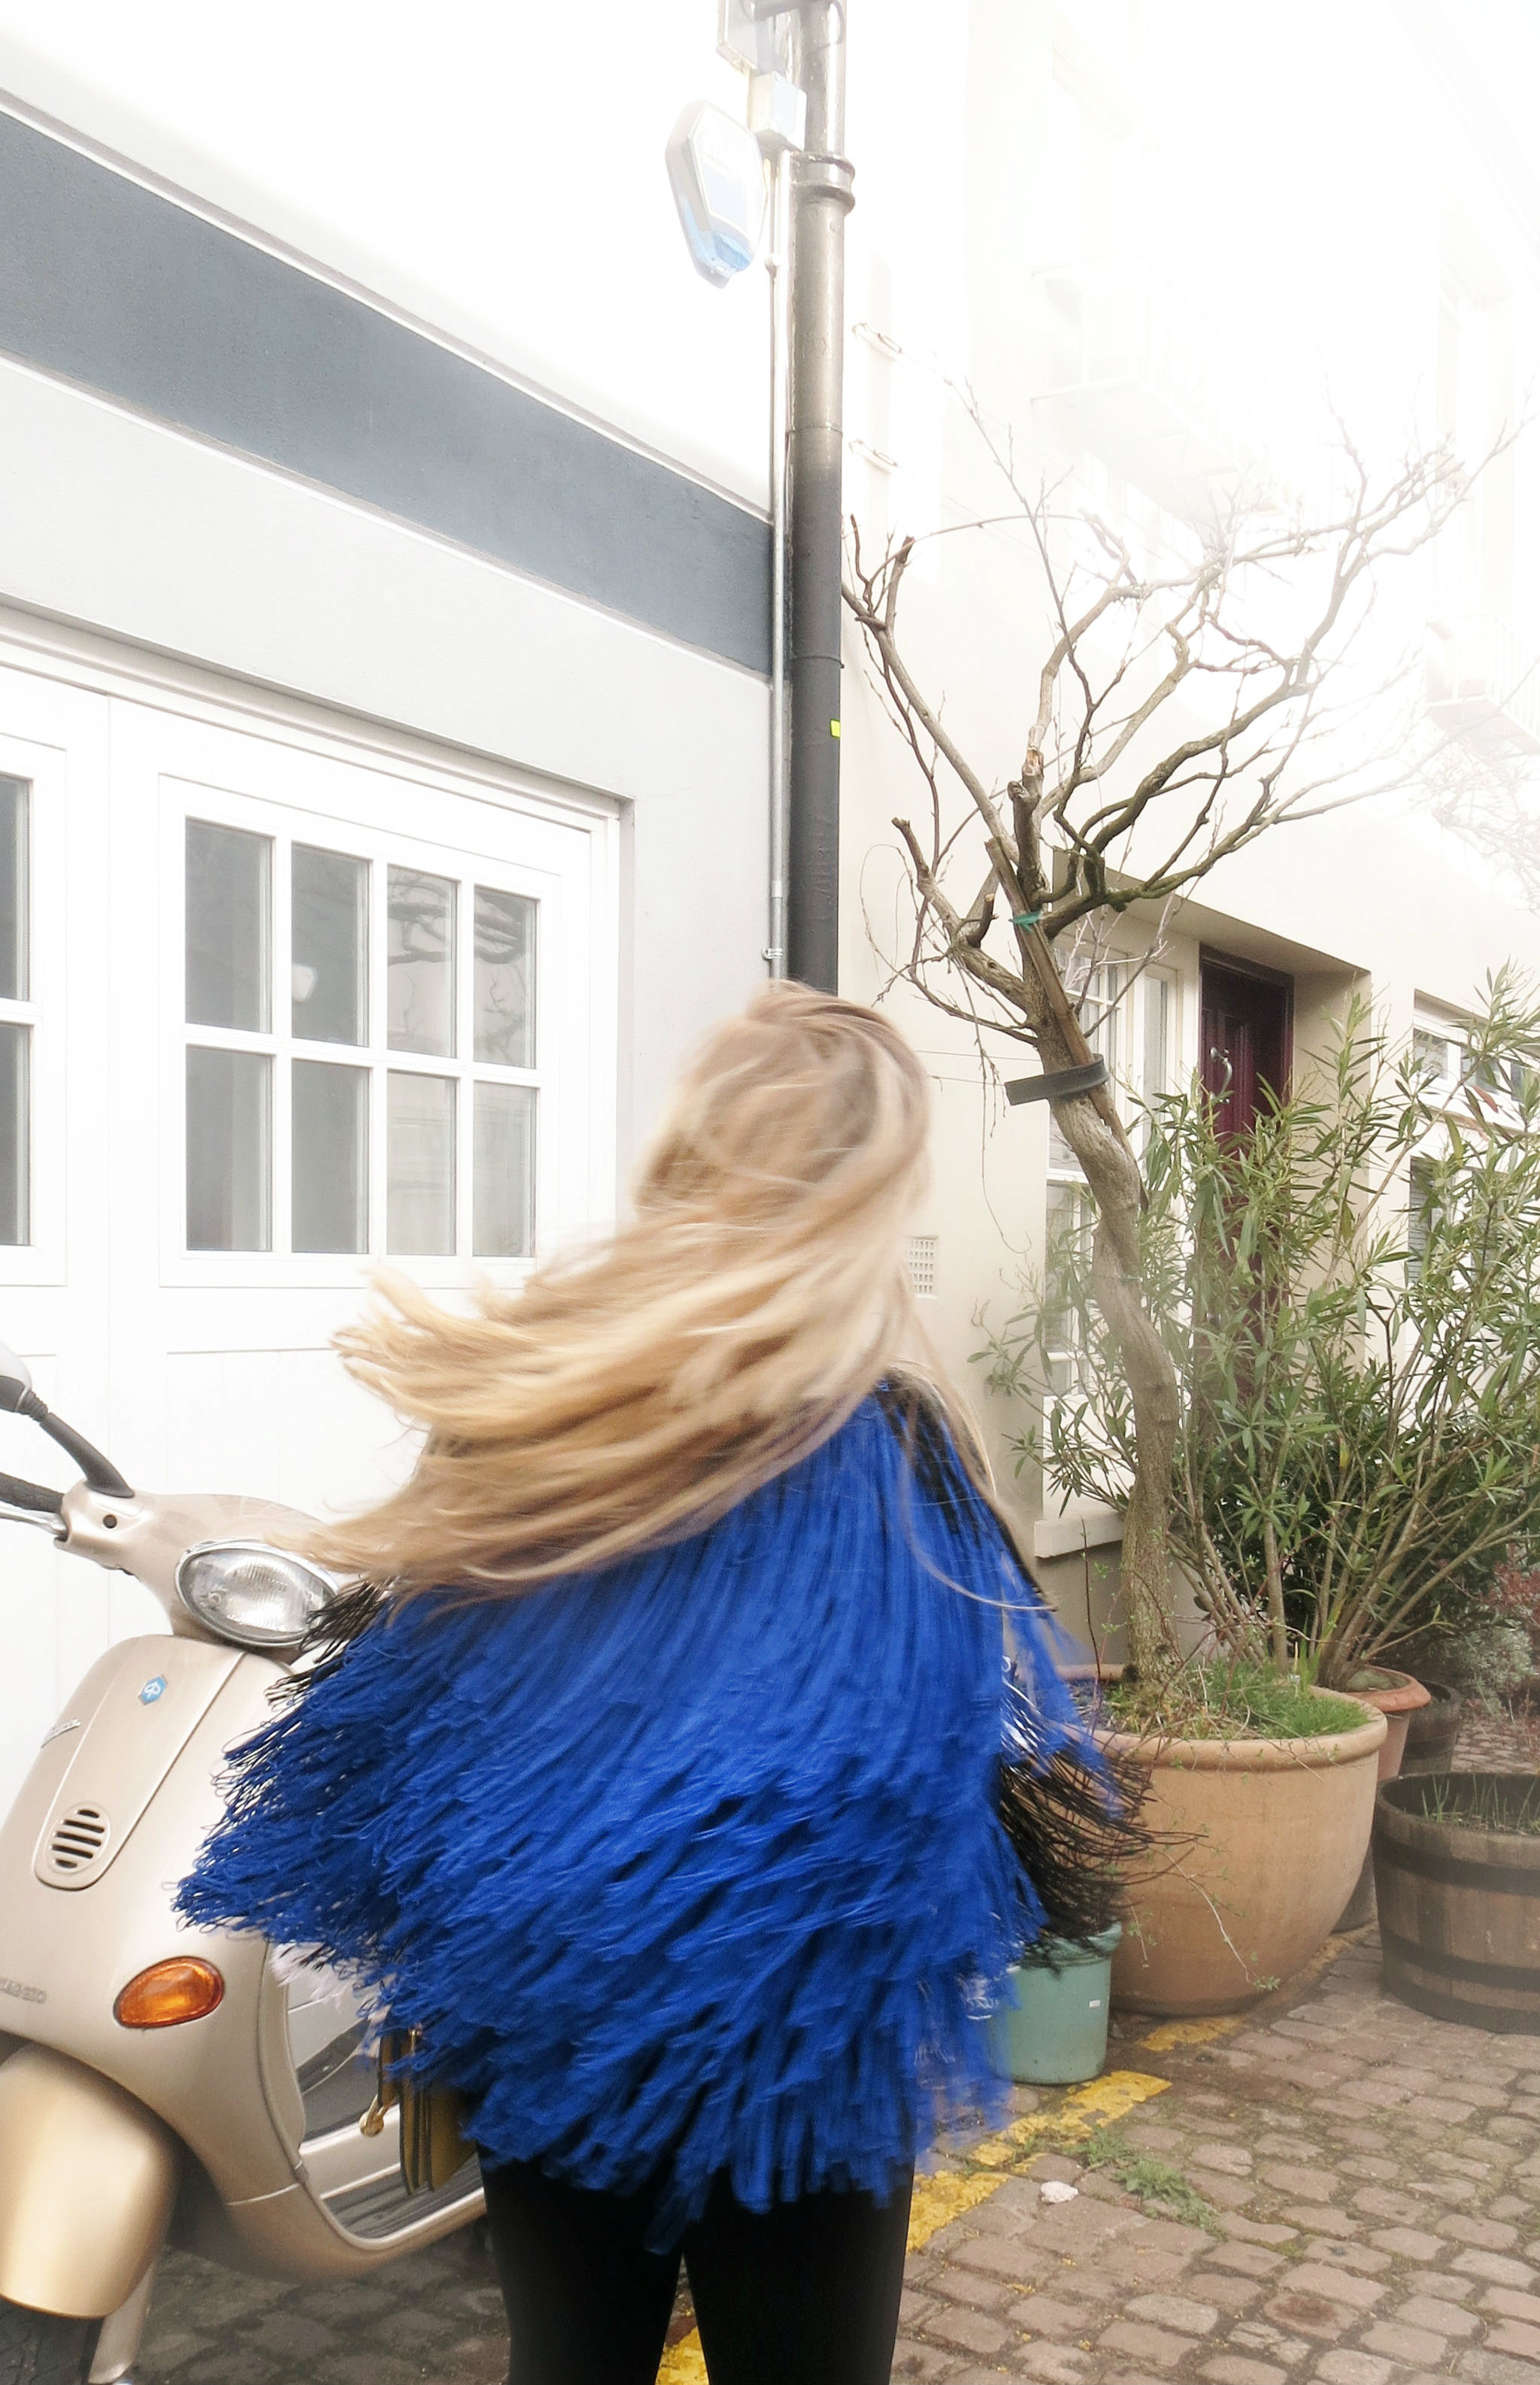
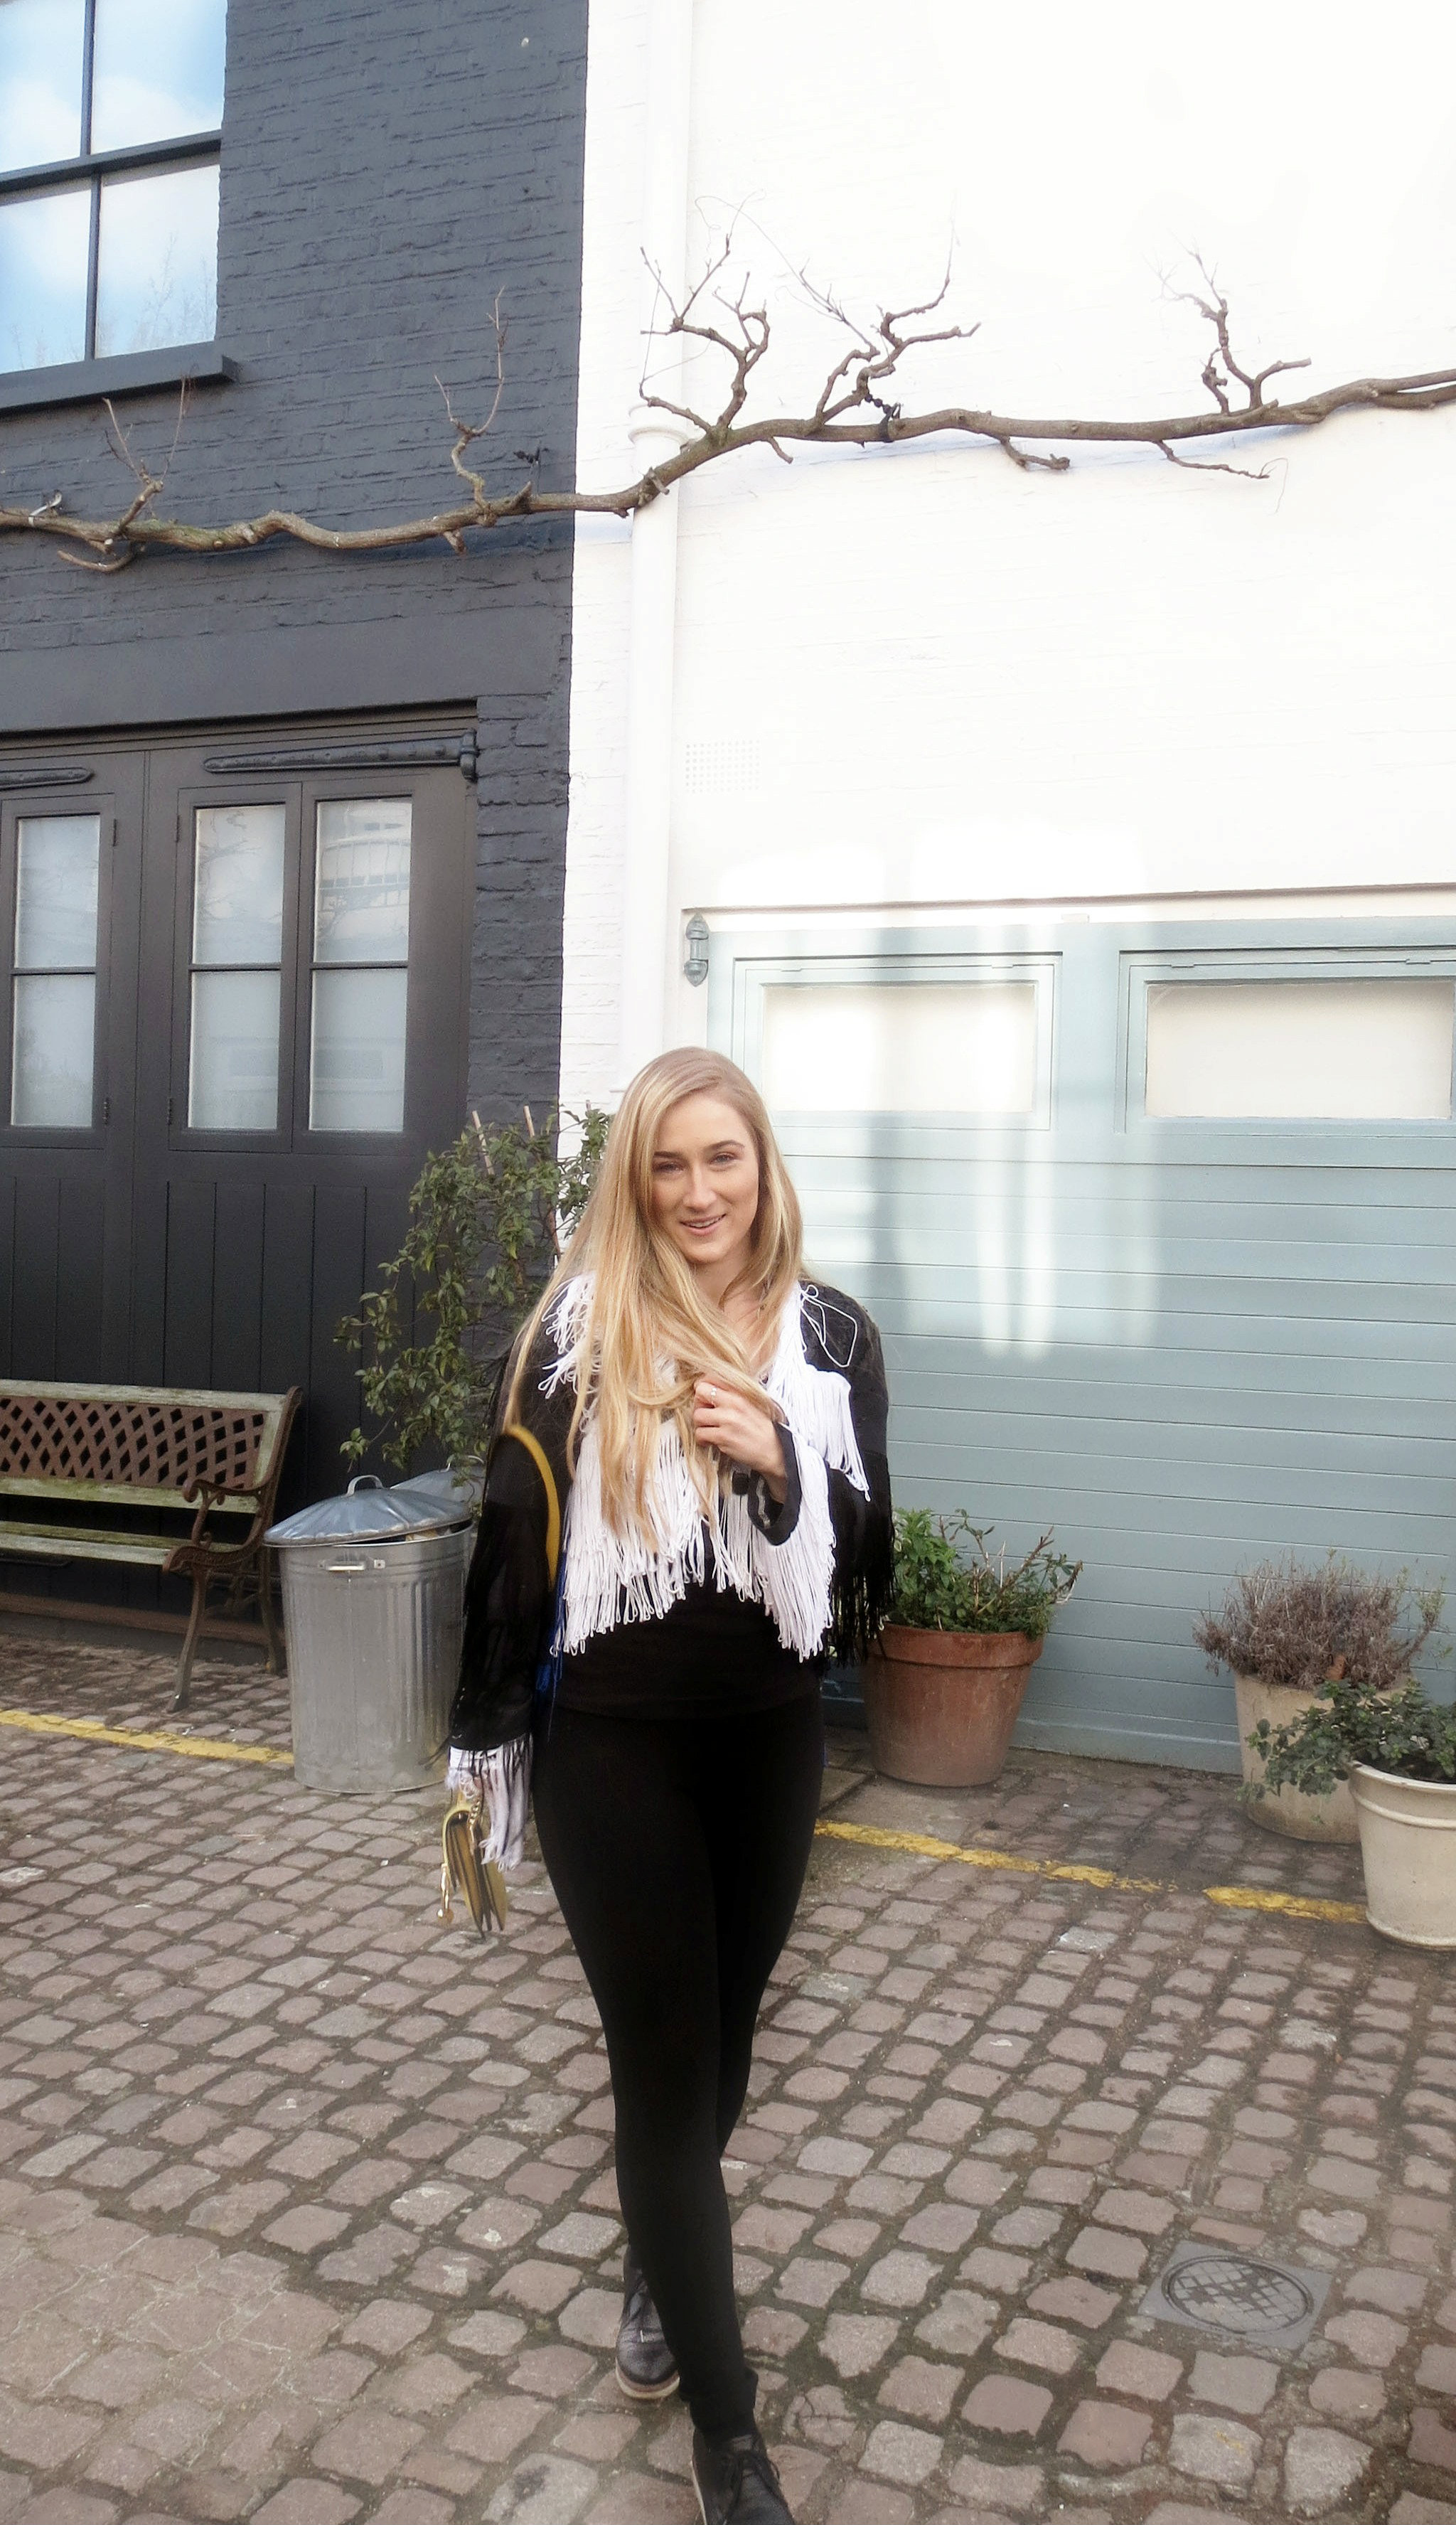
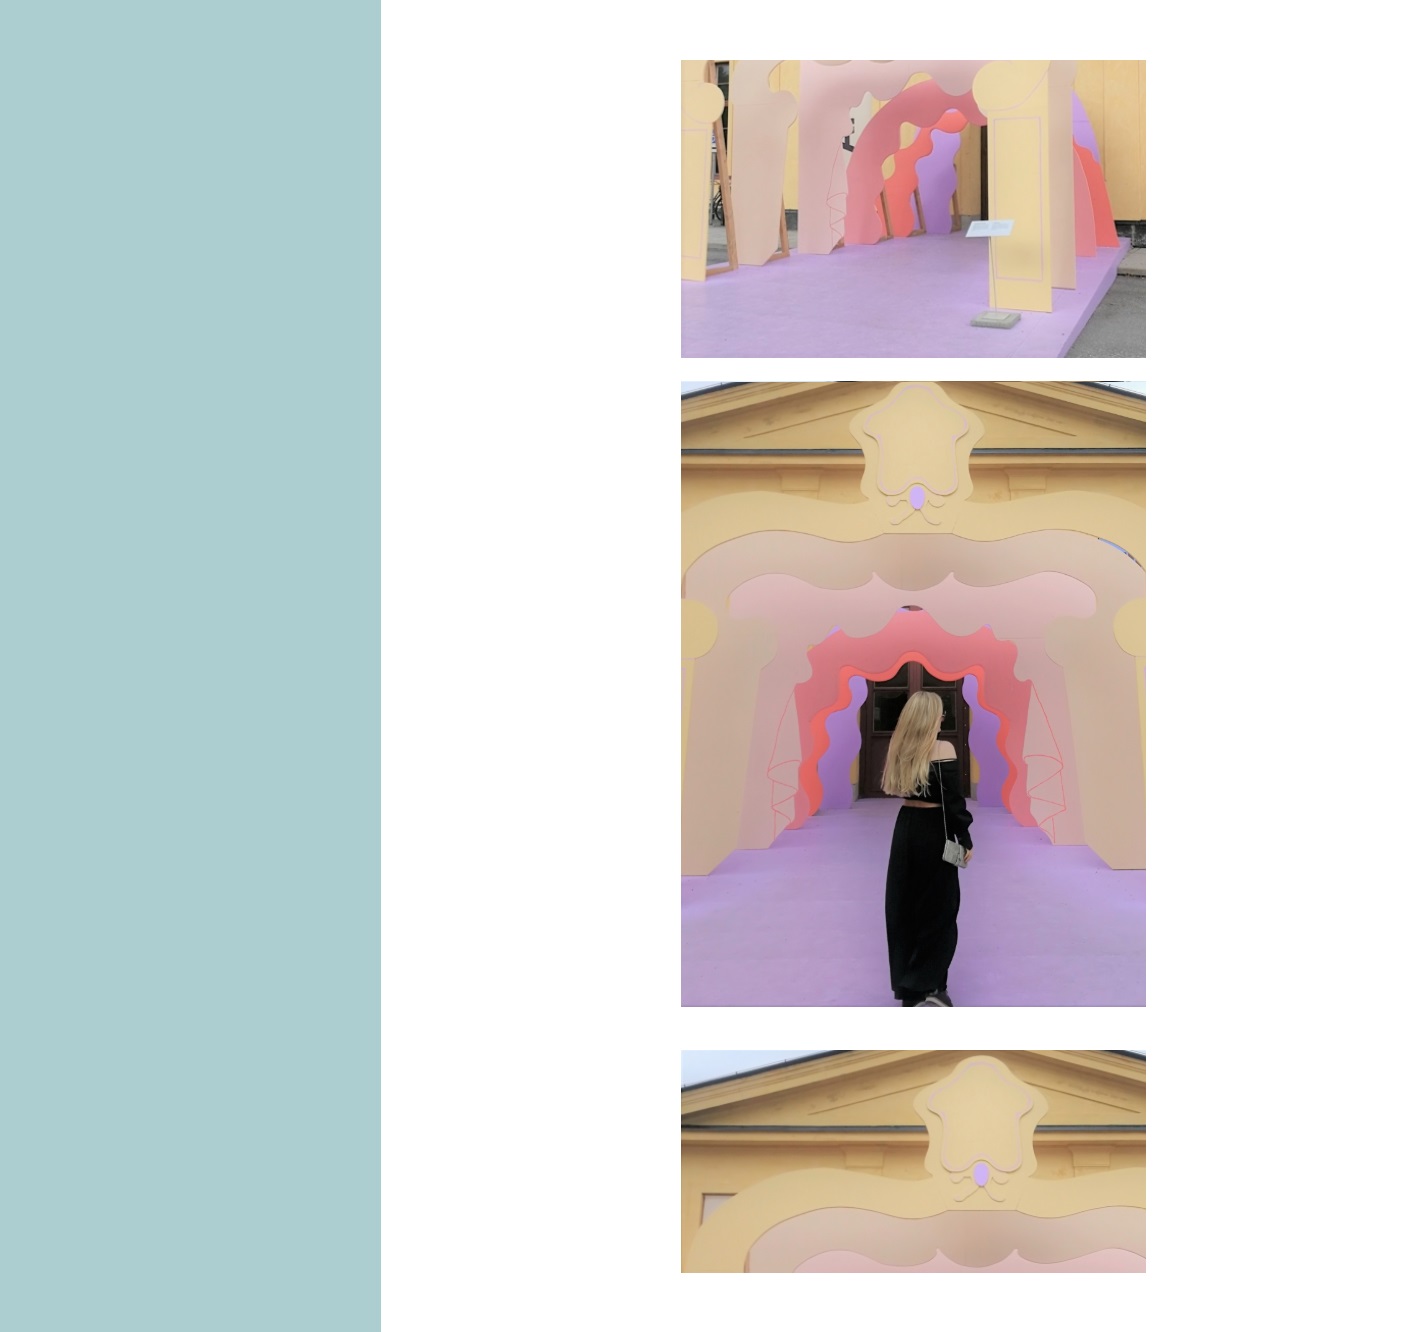
Hi, the summer is officially here and so are summer festivals, longer nights and fringed fashion style outfits! I received many nice comments on Insta when published this fringed jacket, so thank you, but more importantly today I am sharing with you as promised steps on how I designed this cool jacket. It is perfect for summer nights out, summer festivals or as an elegant piece when you feel like to dress up. The jacket literally fits with so many styles from jeans to black long gown and it is very simple to design it. Of course, as everything good it will take a bit of time to sew all the fringes on it but and the end it will be so worth it. So let’s get into it:
1. Find an old jacket with thin material & get yourself 2x different colour of fringes
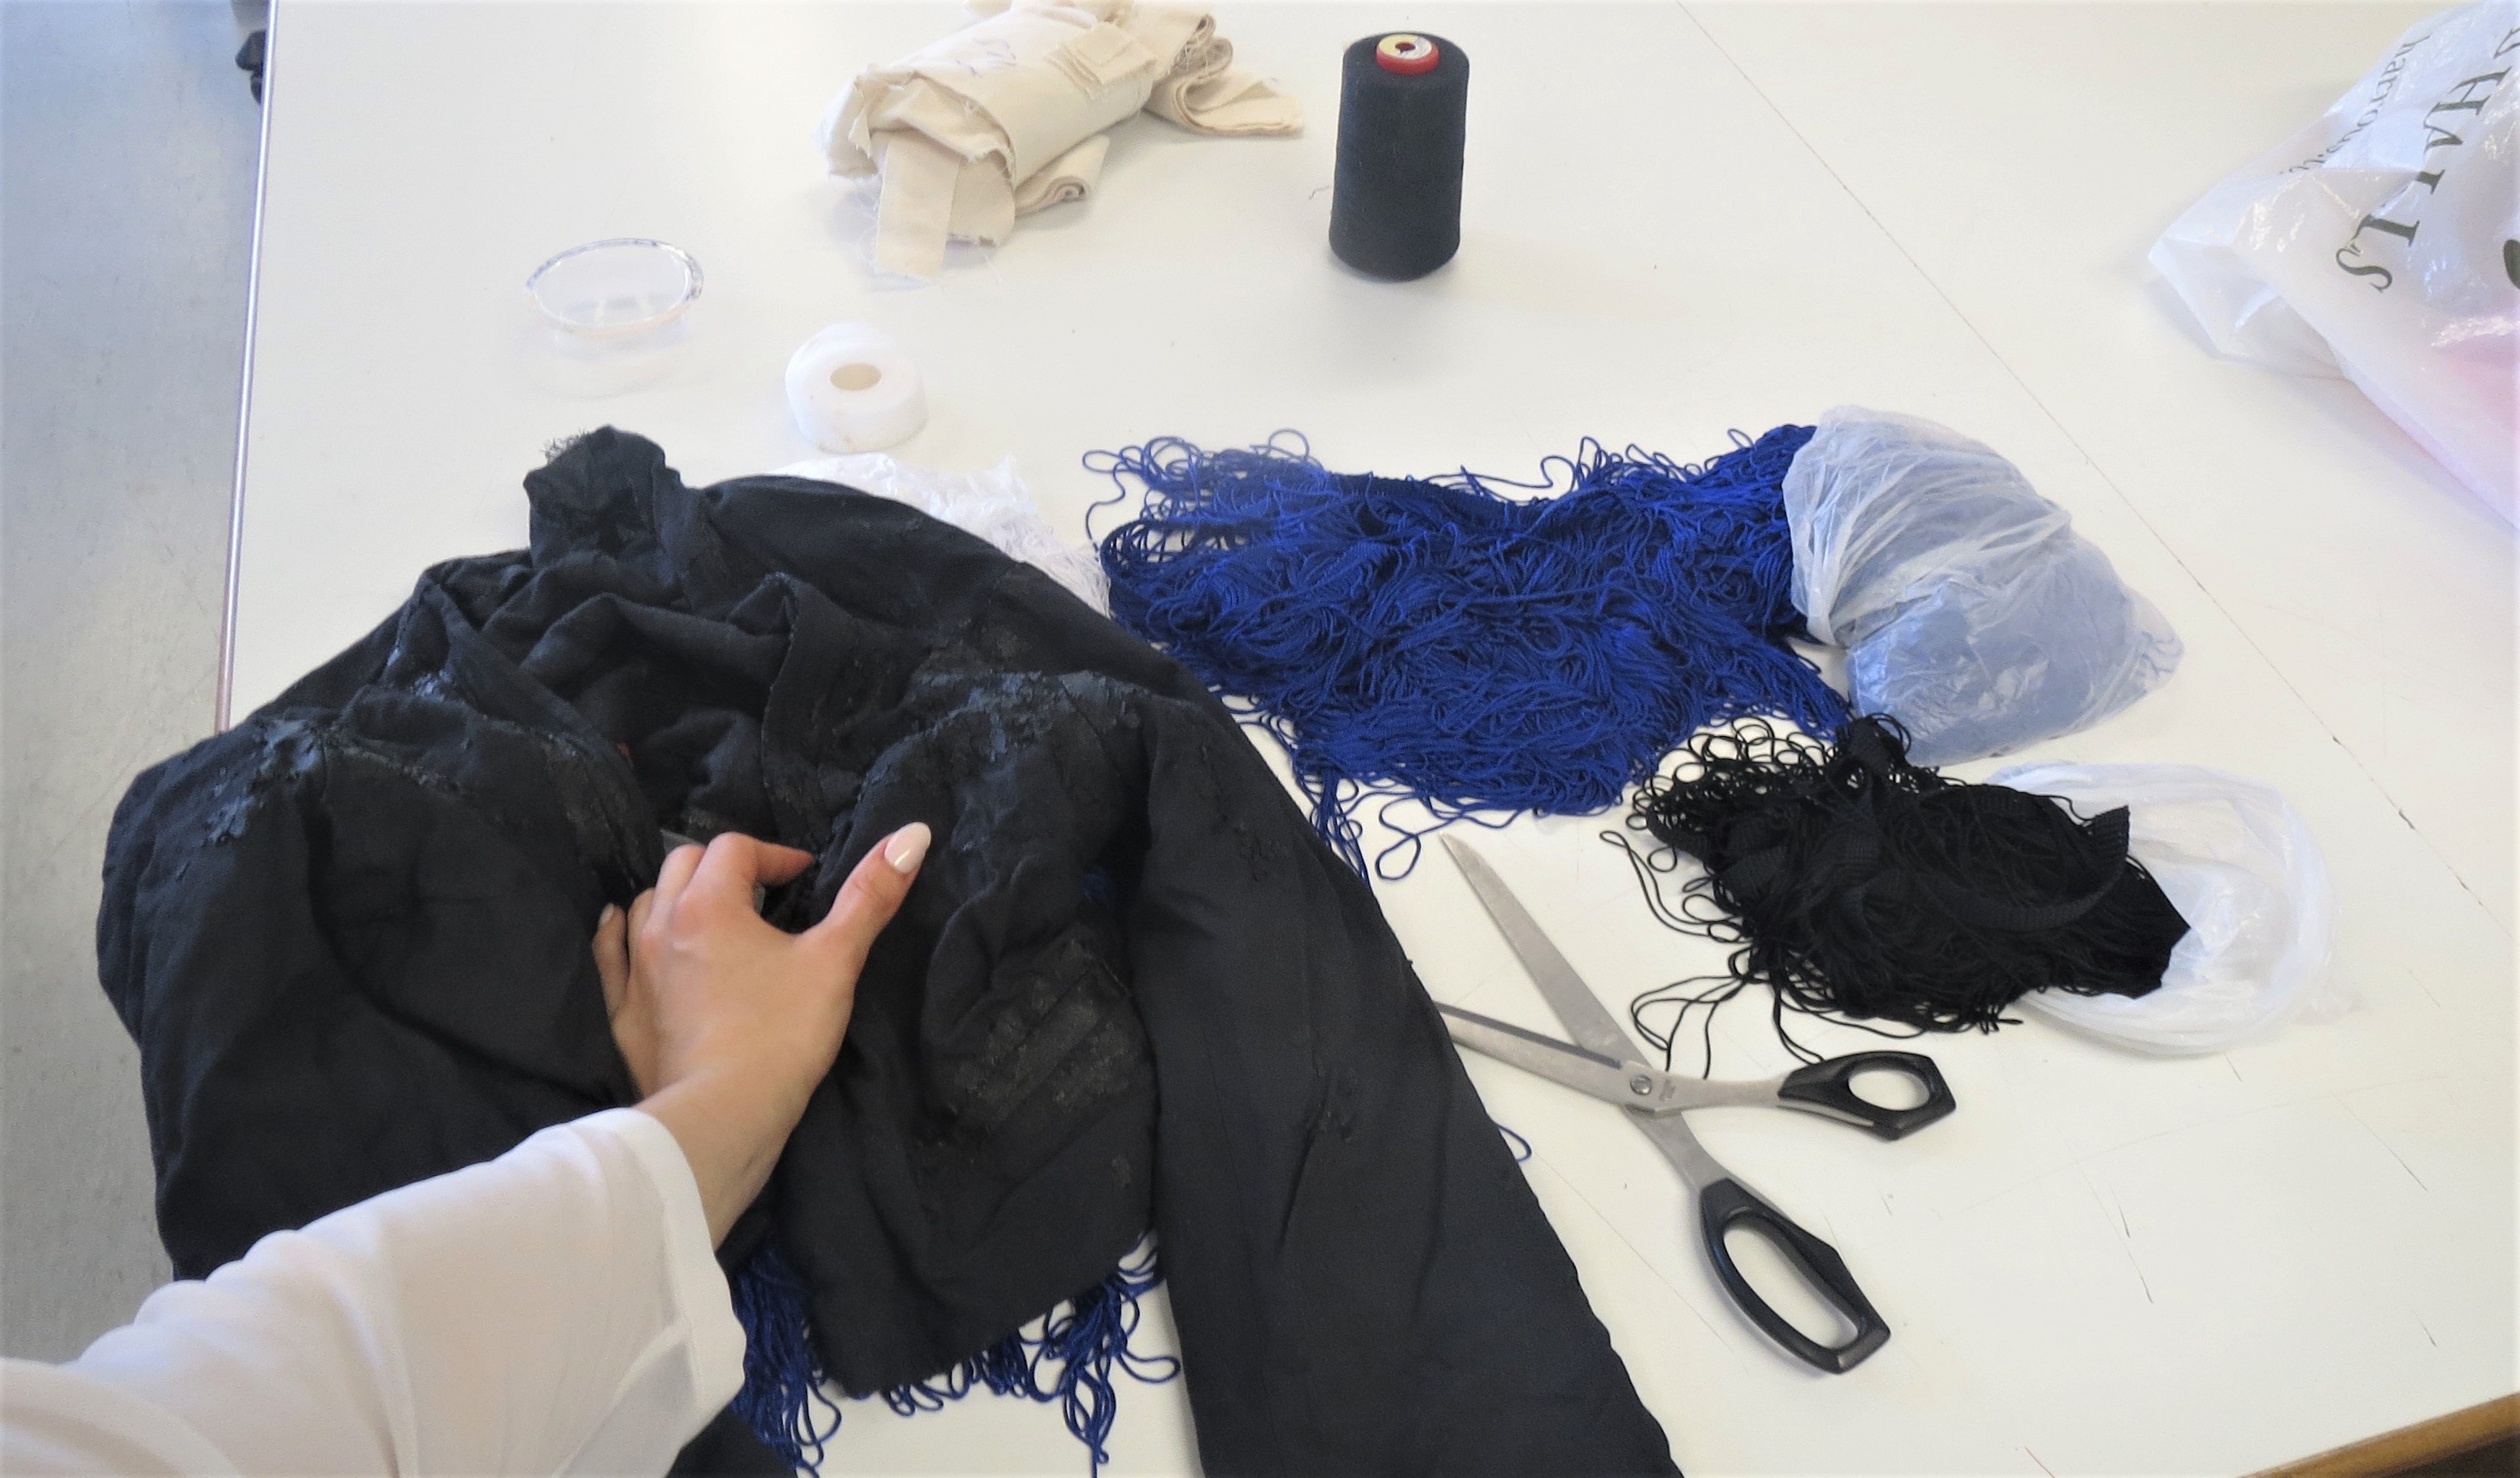
I did not start sewing the whole black jacket from the beginning because I already had one at home and I wanted to re-designed it for a while. You can choose any kind of jacket you have at home, but when it comes to material make sure that the jacket is made from some thinner fabric. The reason is that is going to be so much easier to sew fringes on it, so I would avoid any jeans jacket for example for this DIY because that kind of fabric is too thick and its harder to sew on it, especially if you don’t have special sewing machines at home. I choose my faux leather jacket and wash it at 90 degrees (few times to be honest), which gave the jacket edgy ‘cracked’ look and washed out faux leather.
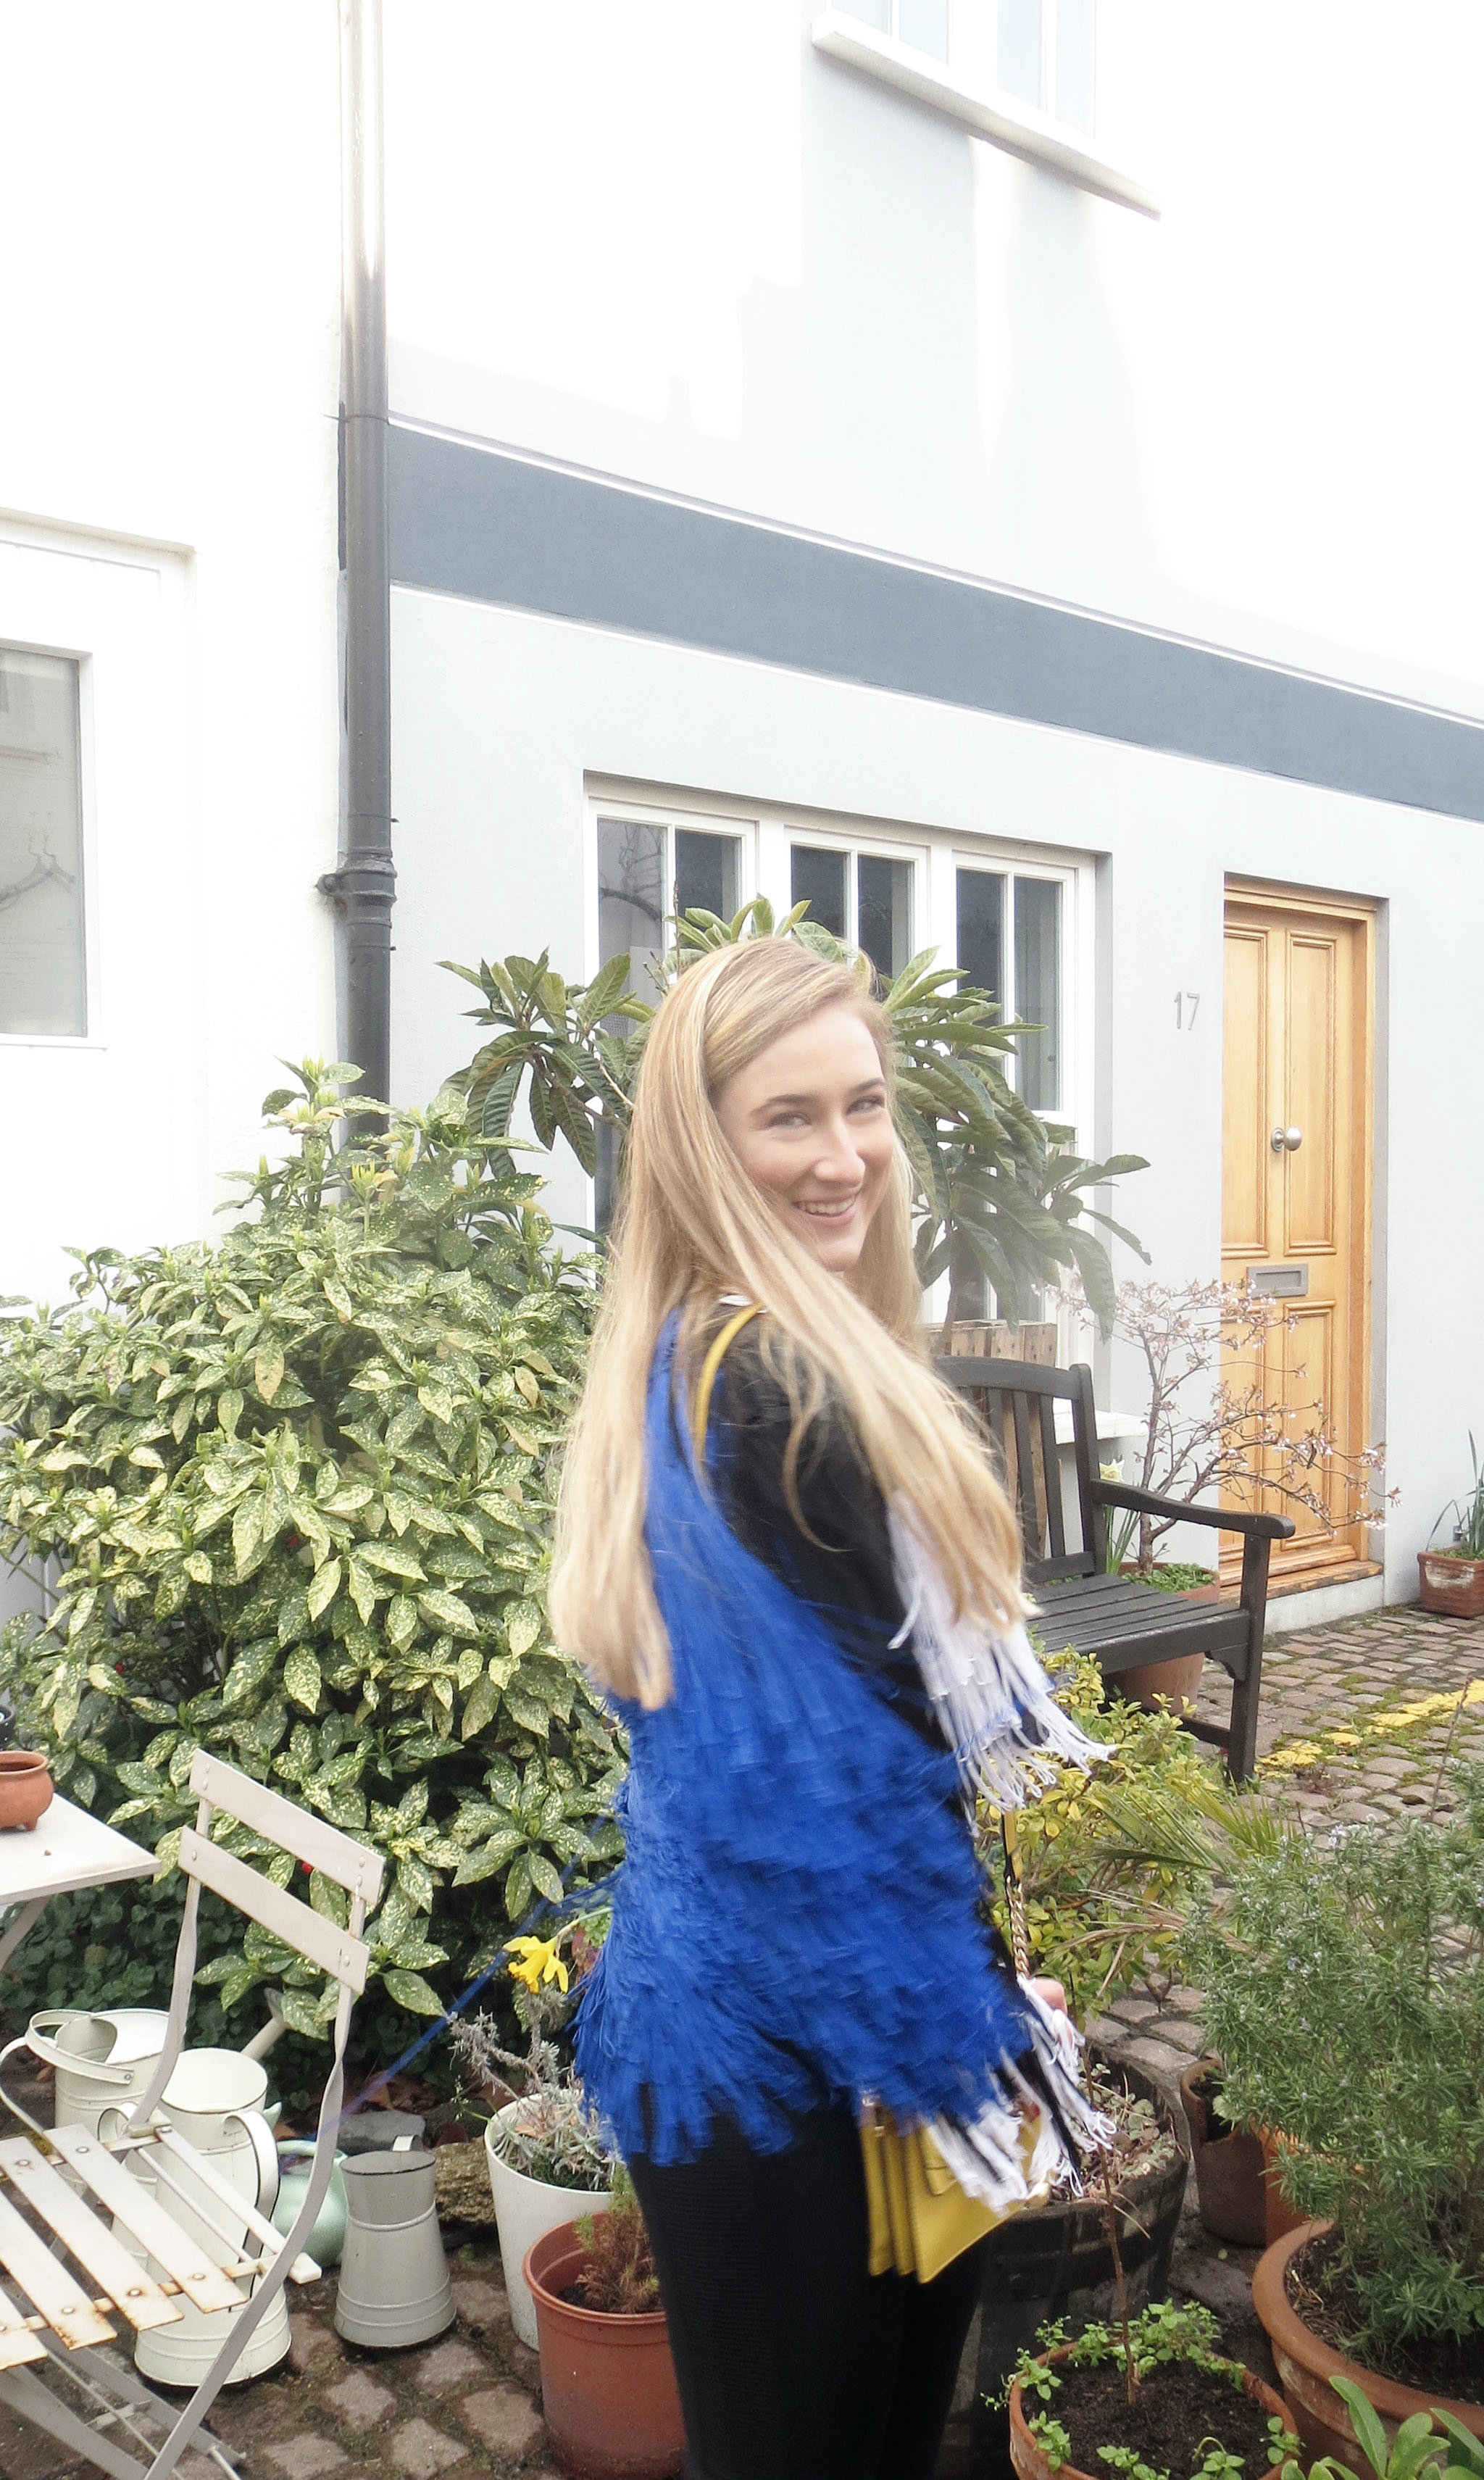
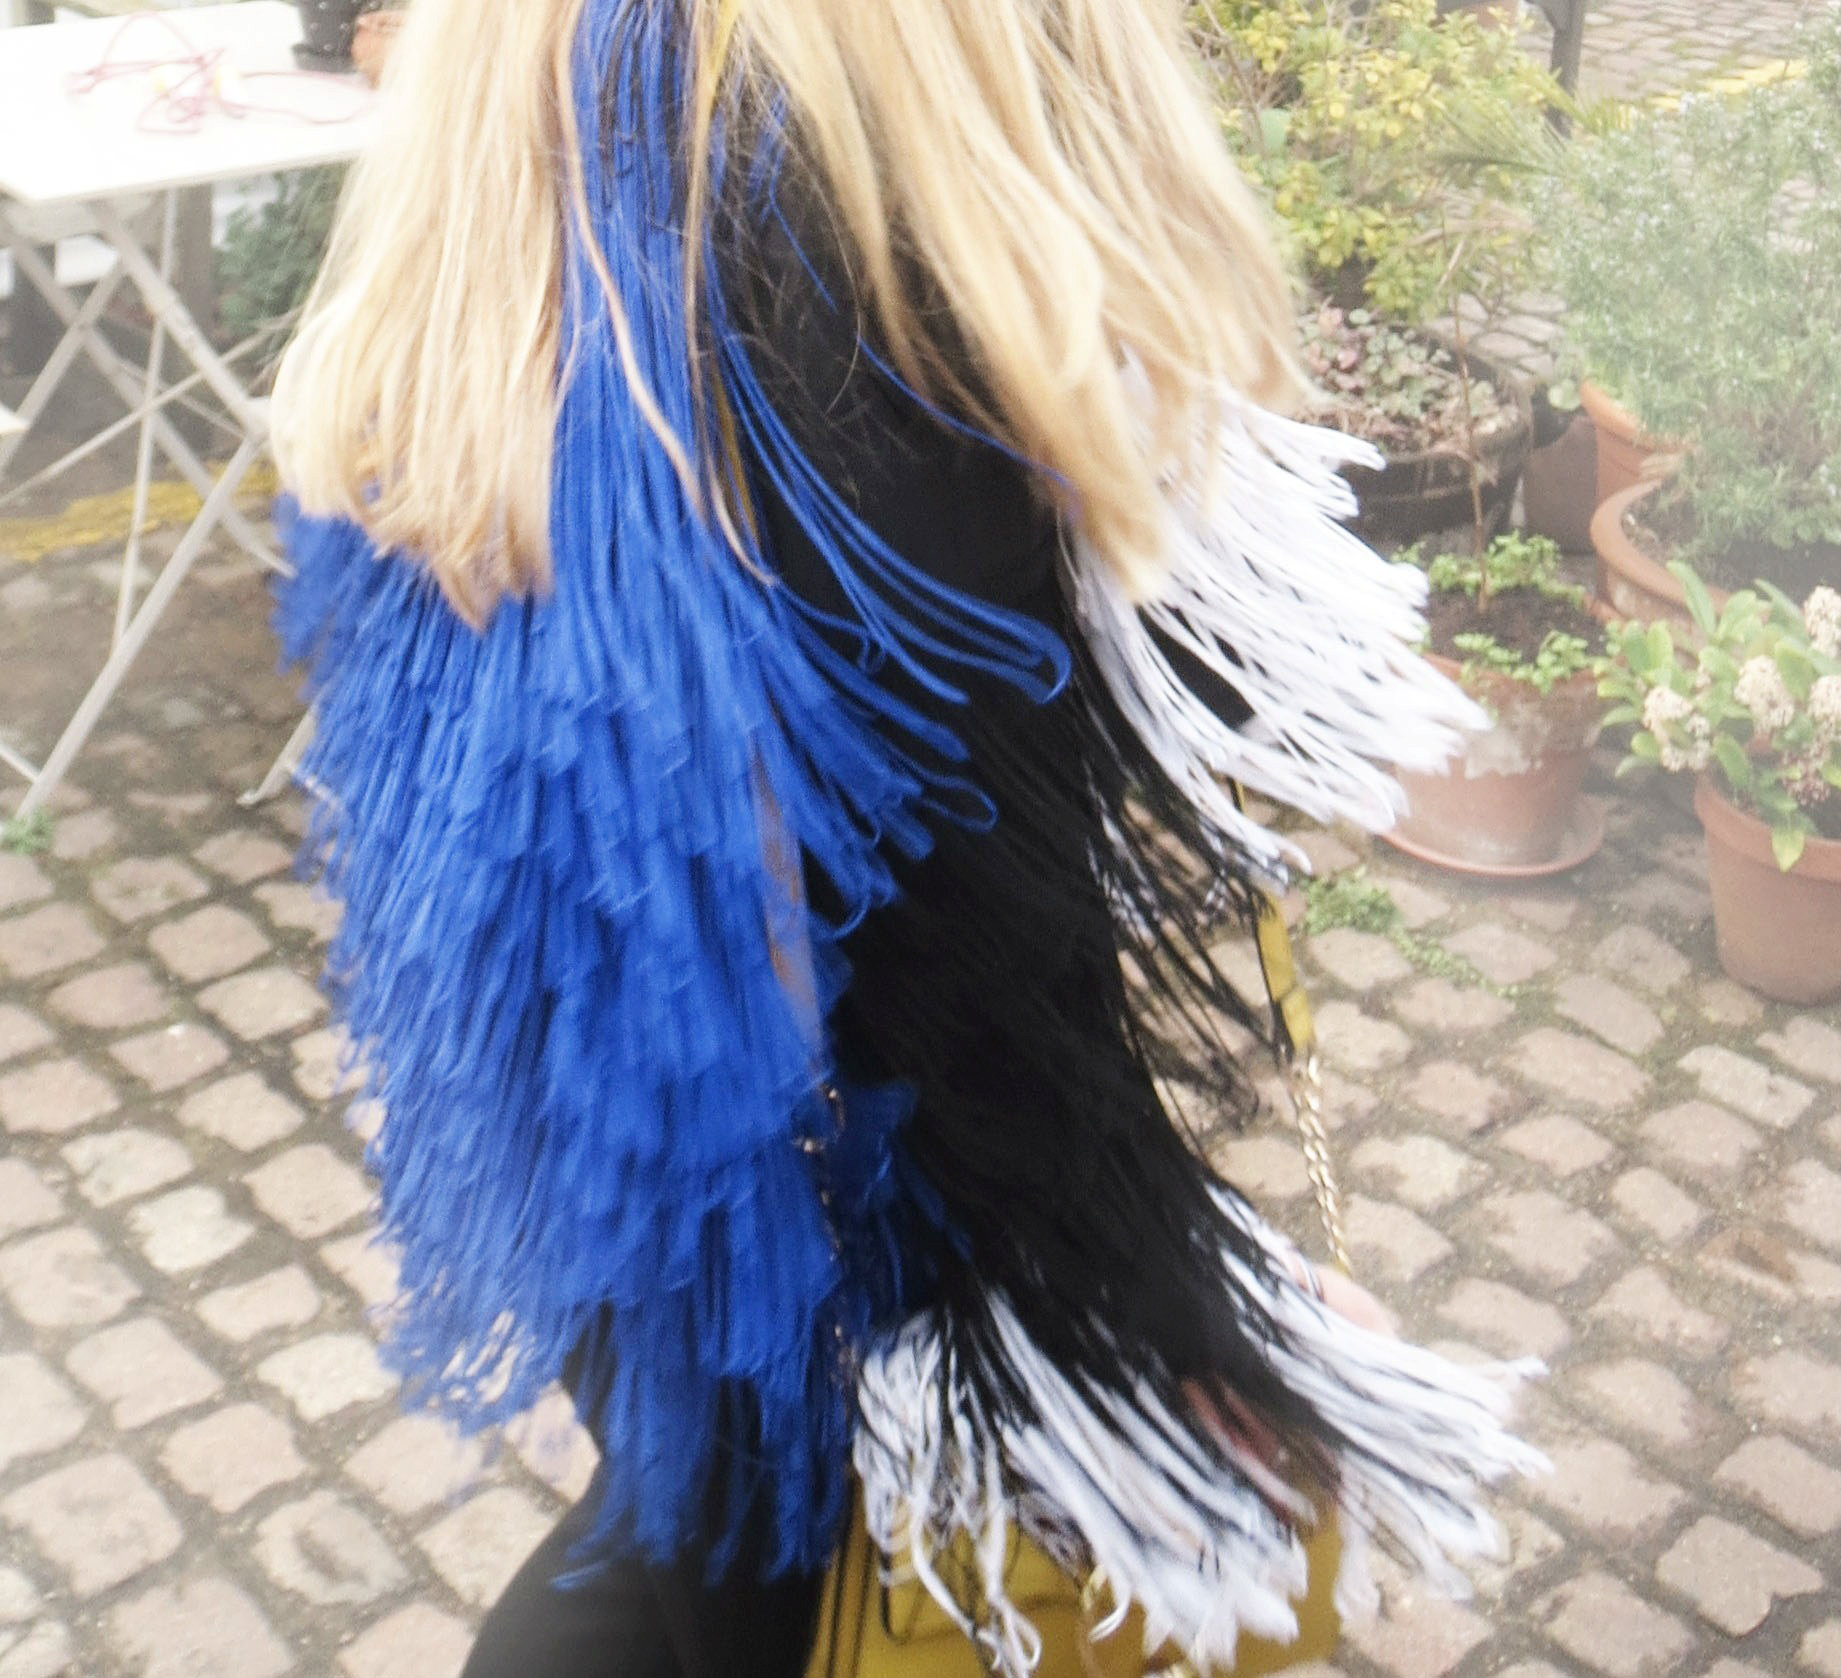
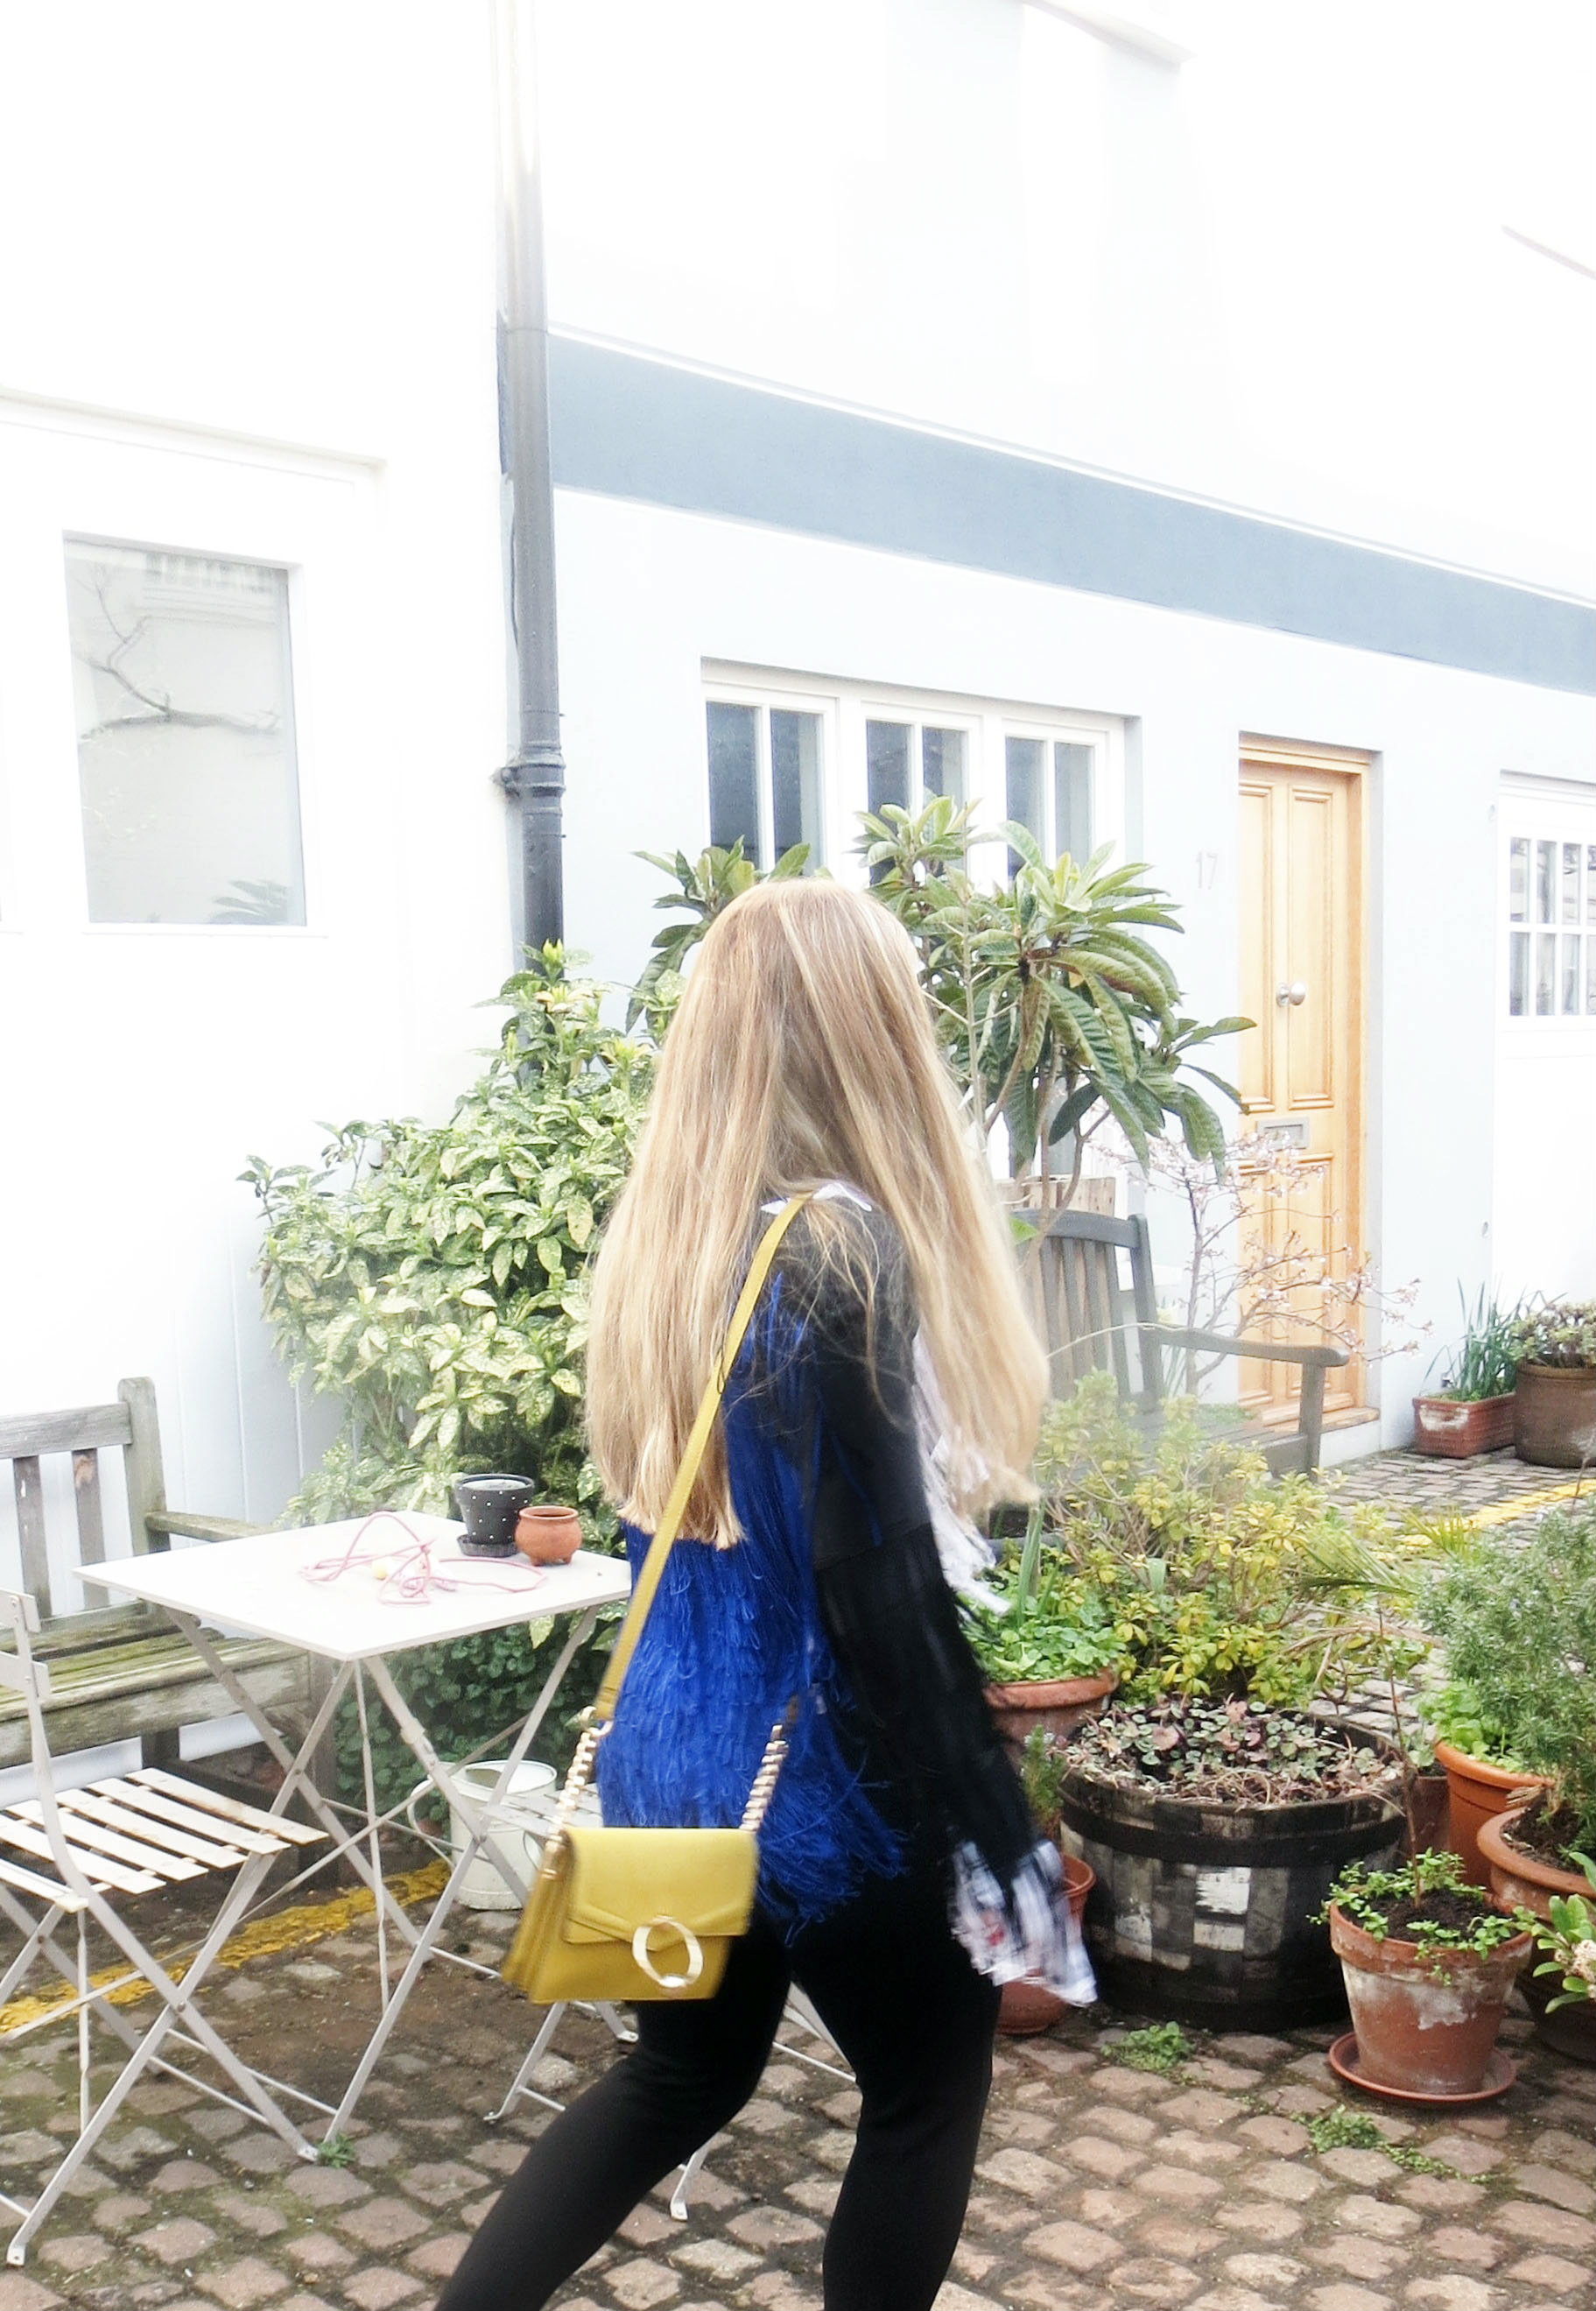
After you have your jacket ready purchase around 5 meters of a different colour of fringes. I went for black, blue and white fringes and it came out really nice. You can go for brighter colour or variety of combinations but I choose these three colours as the final jacket is then way easier to match and can be very versatile for a variety of occasions.

2. Open the jacket’s lining and start sewing in horizontal lines
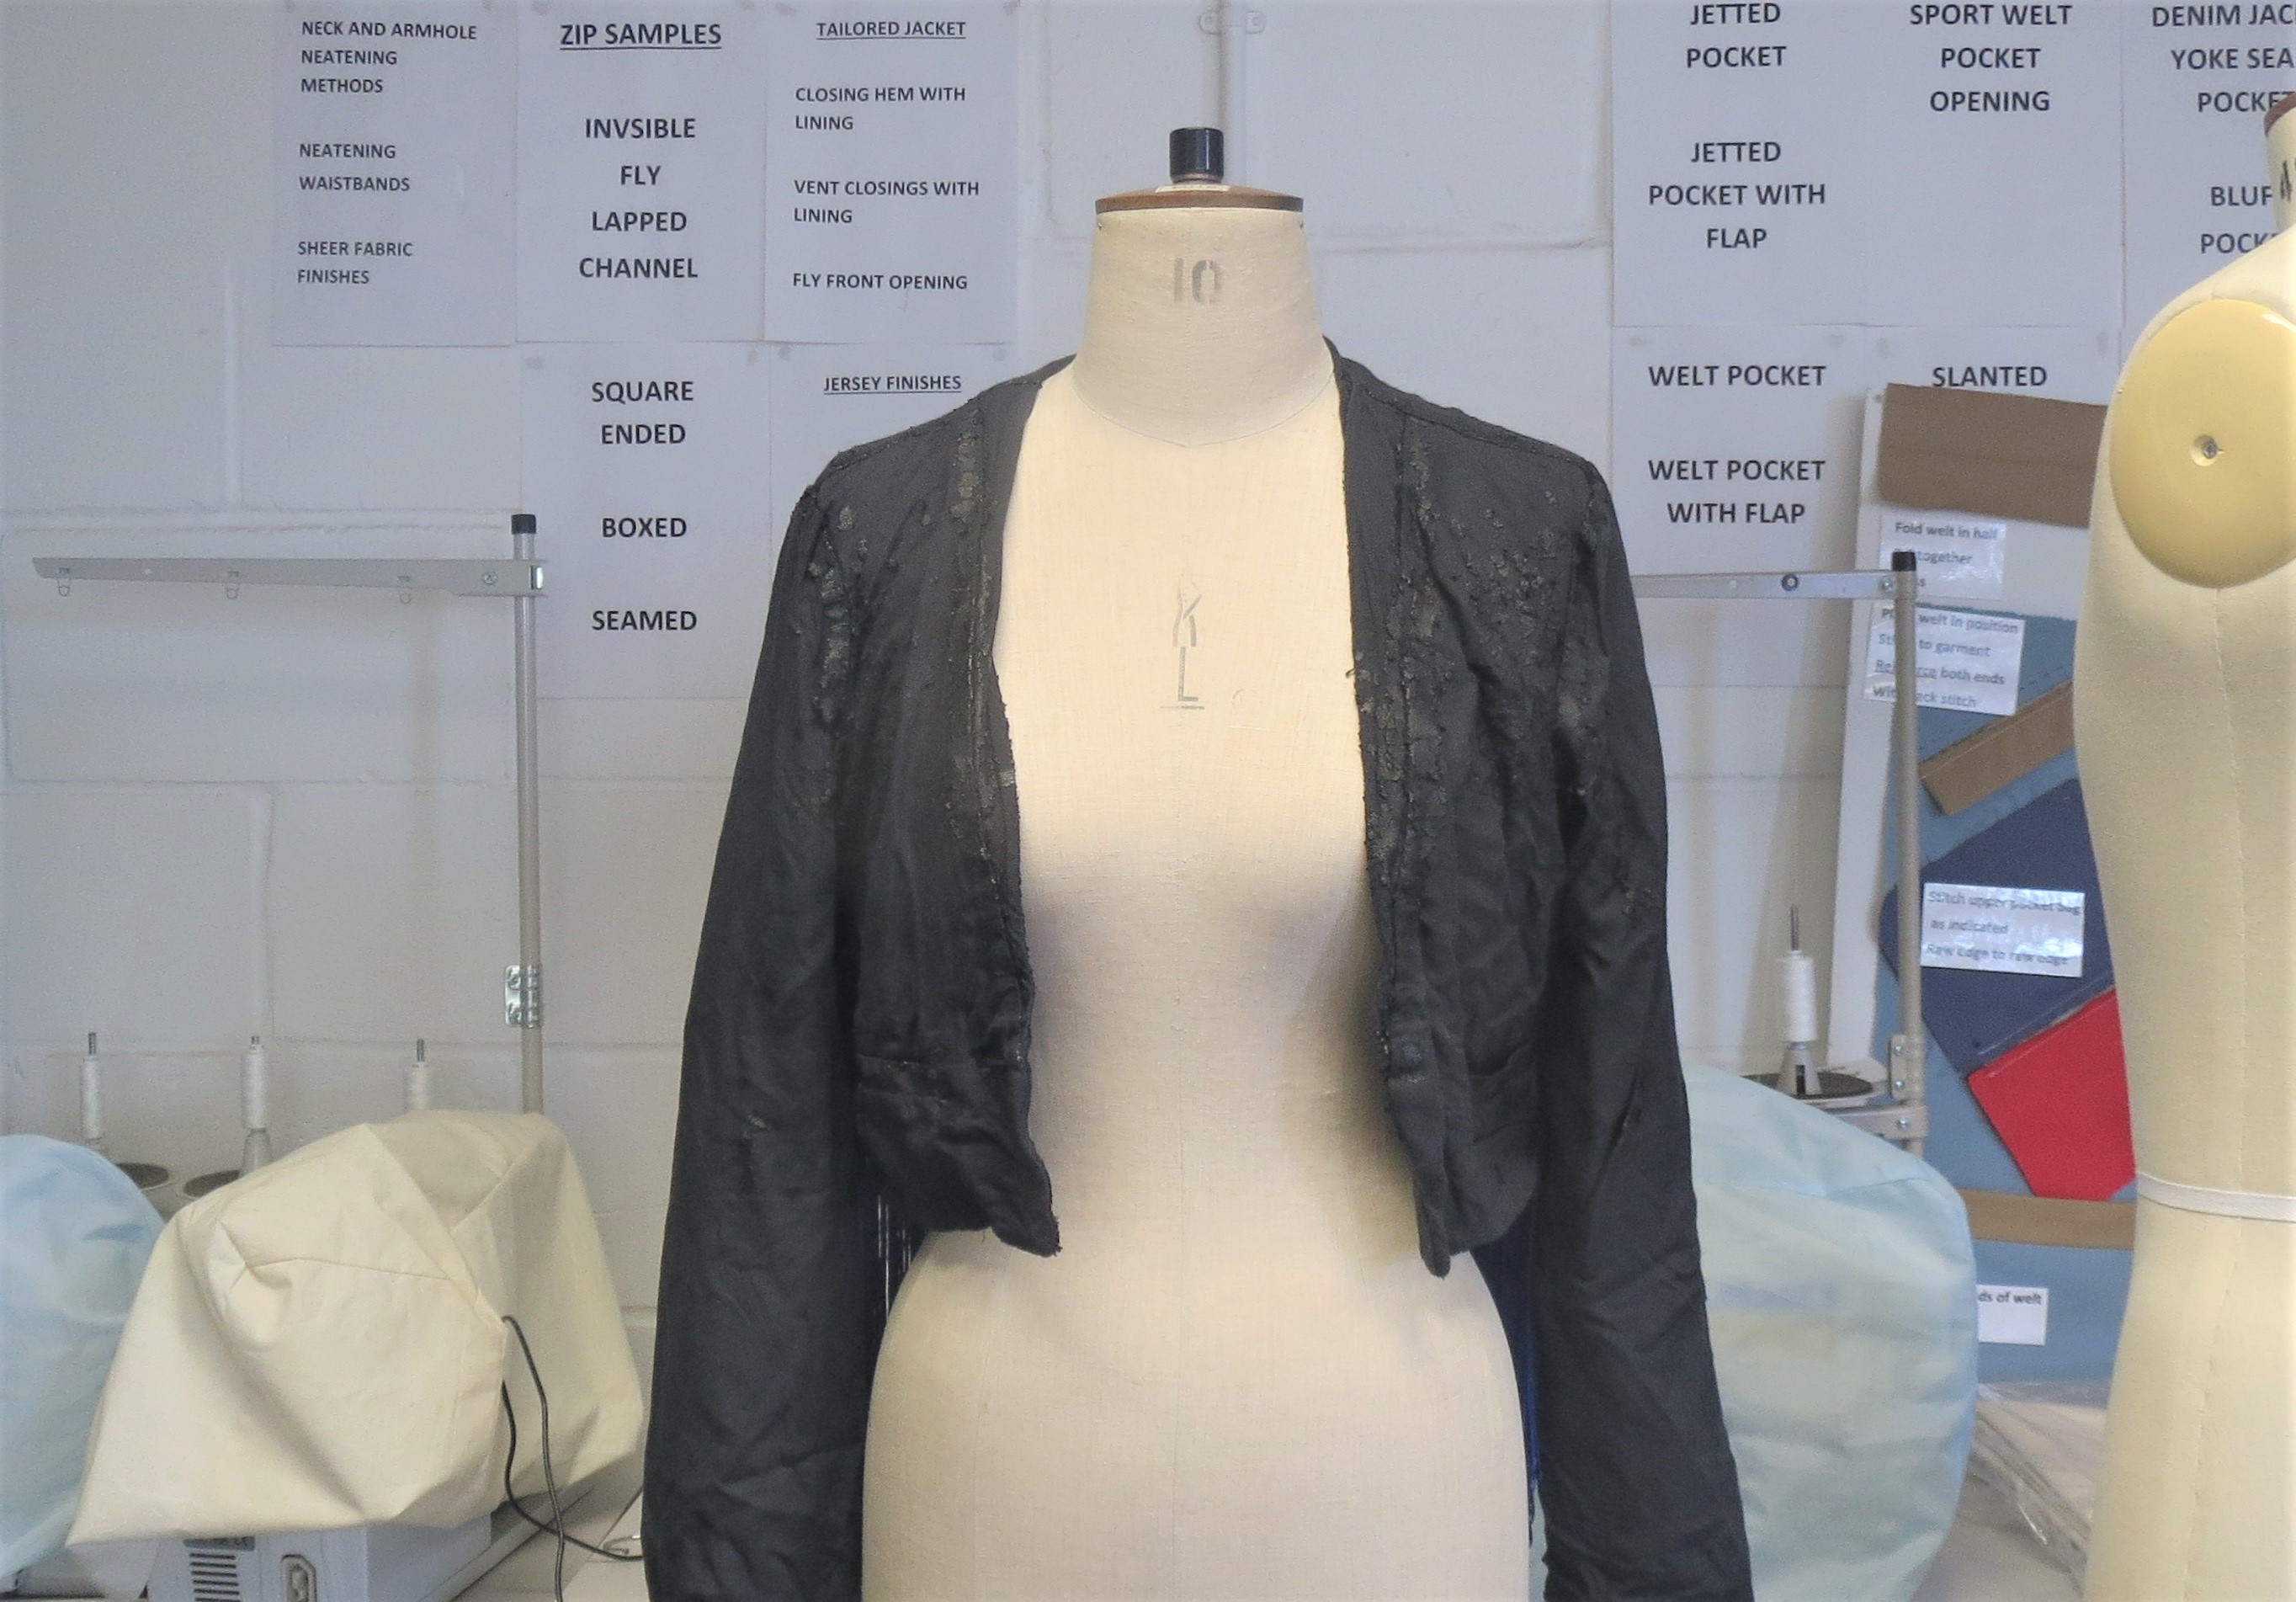
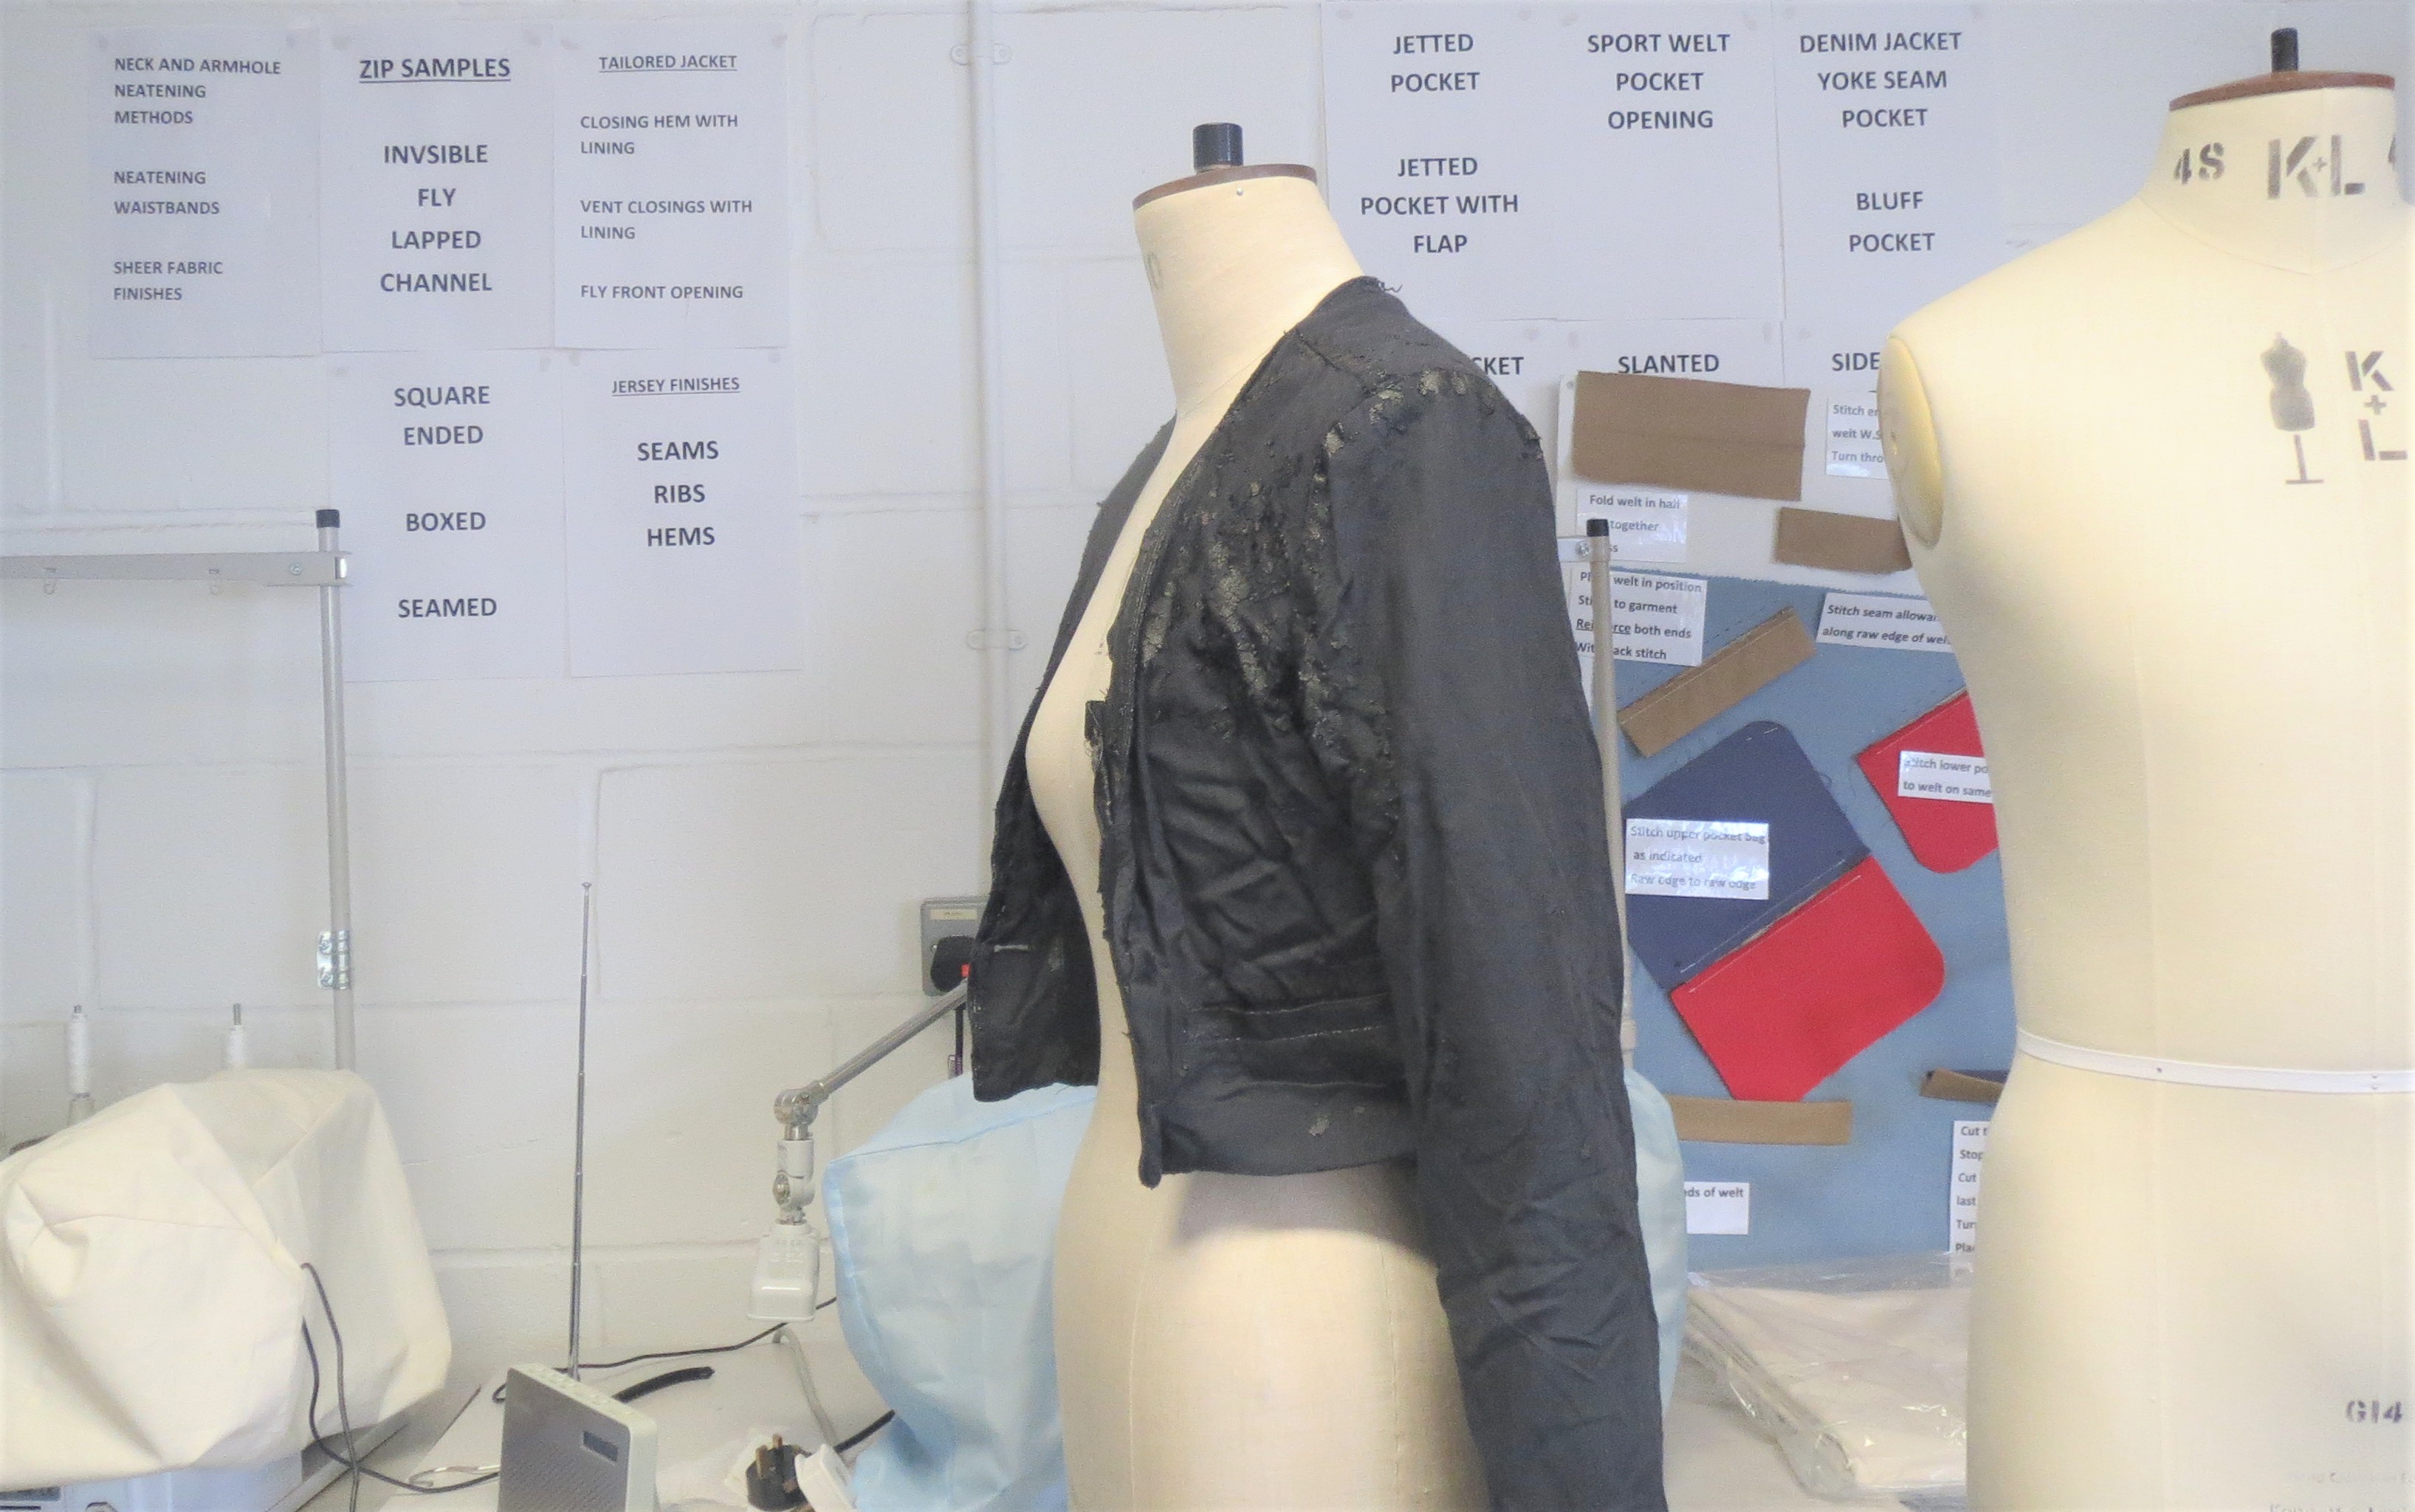
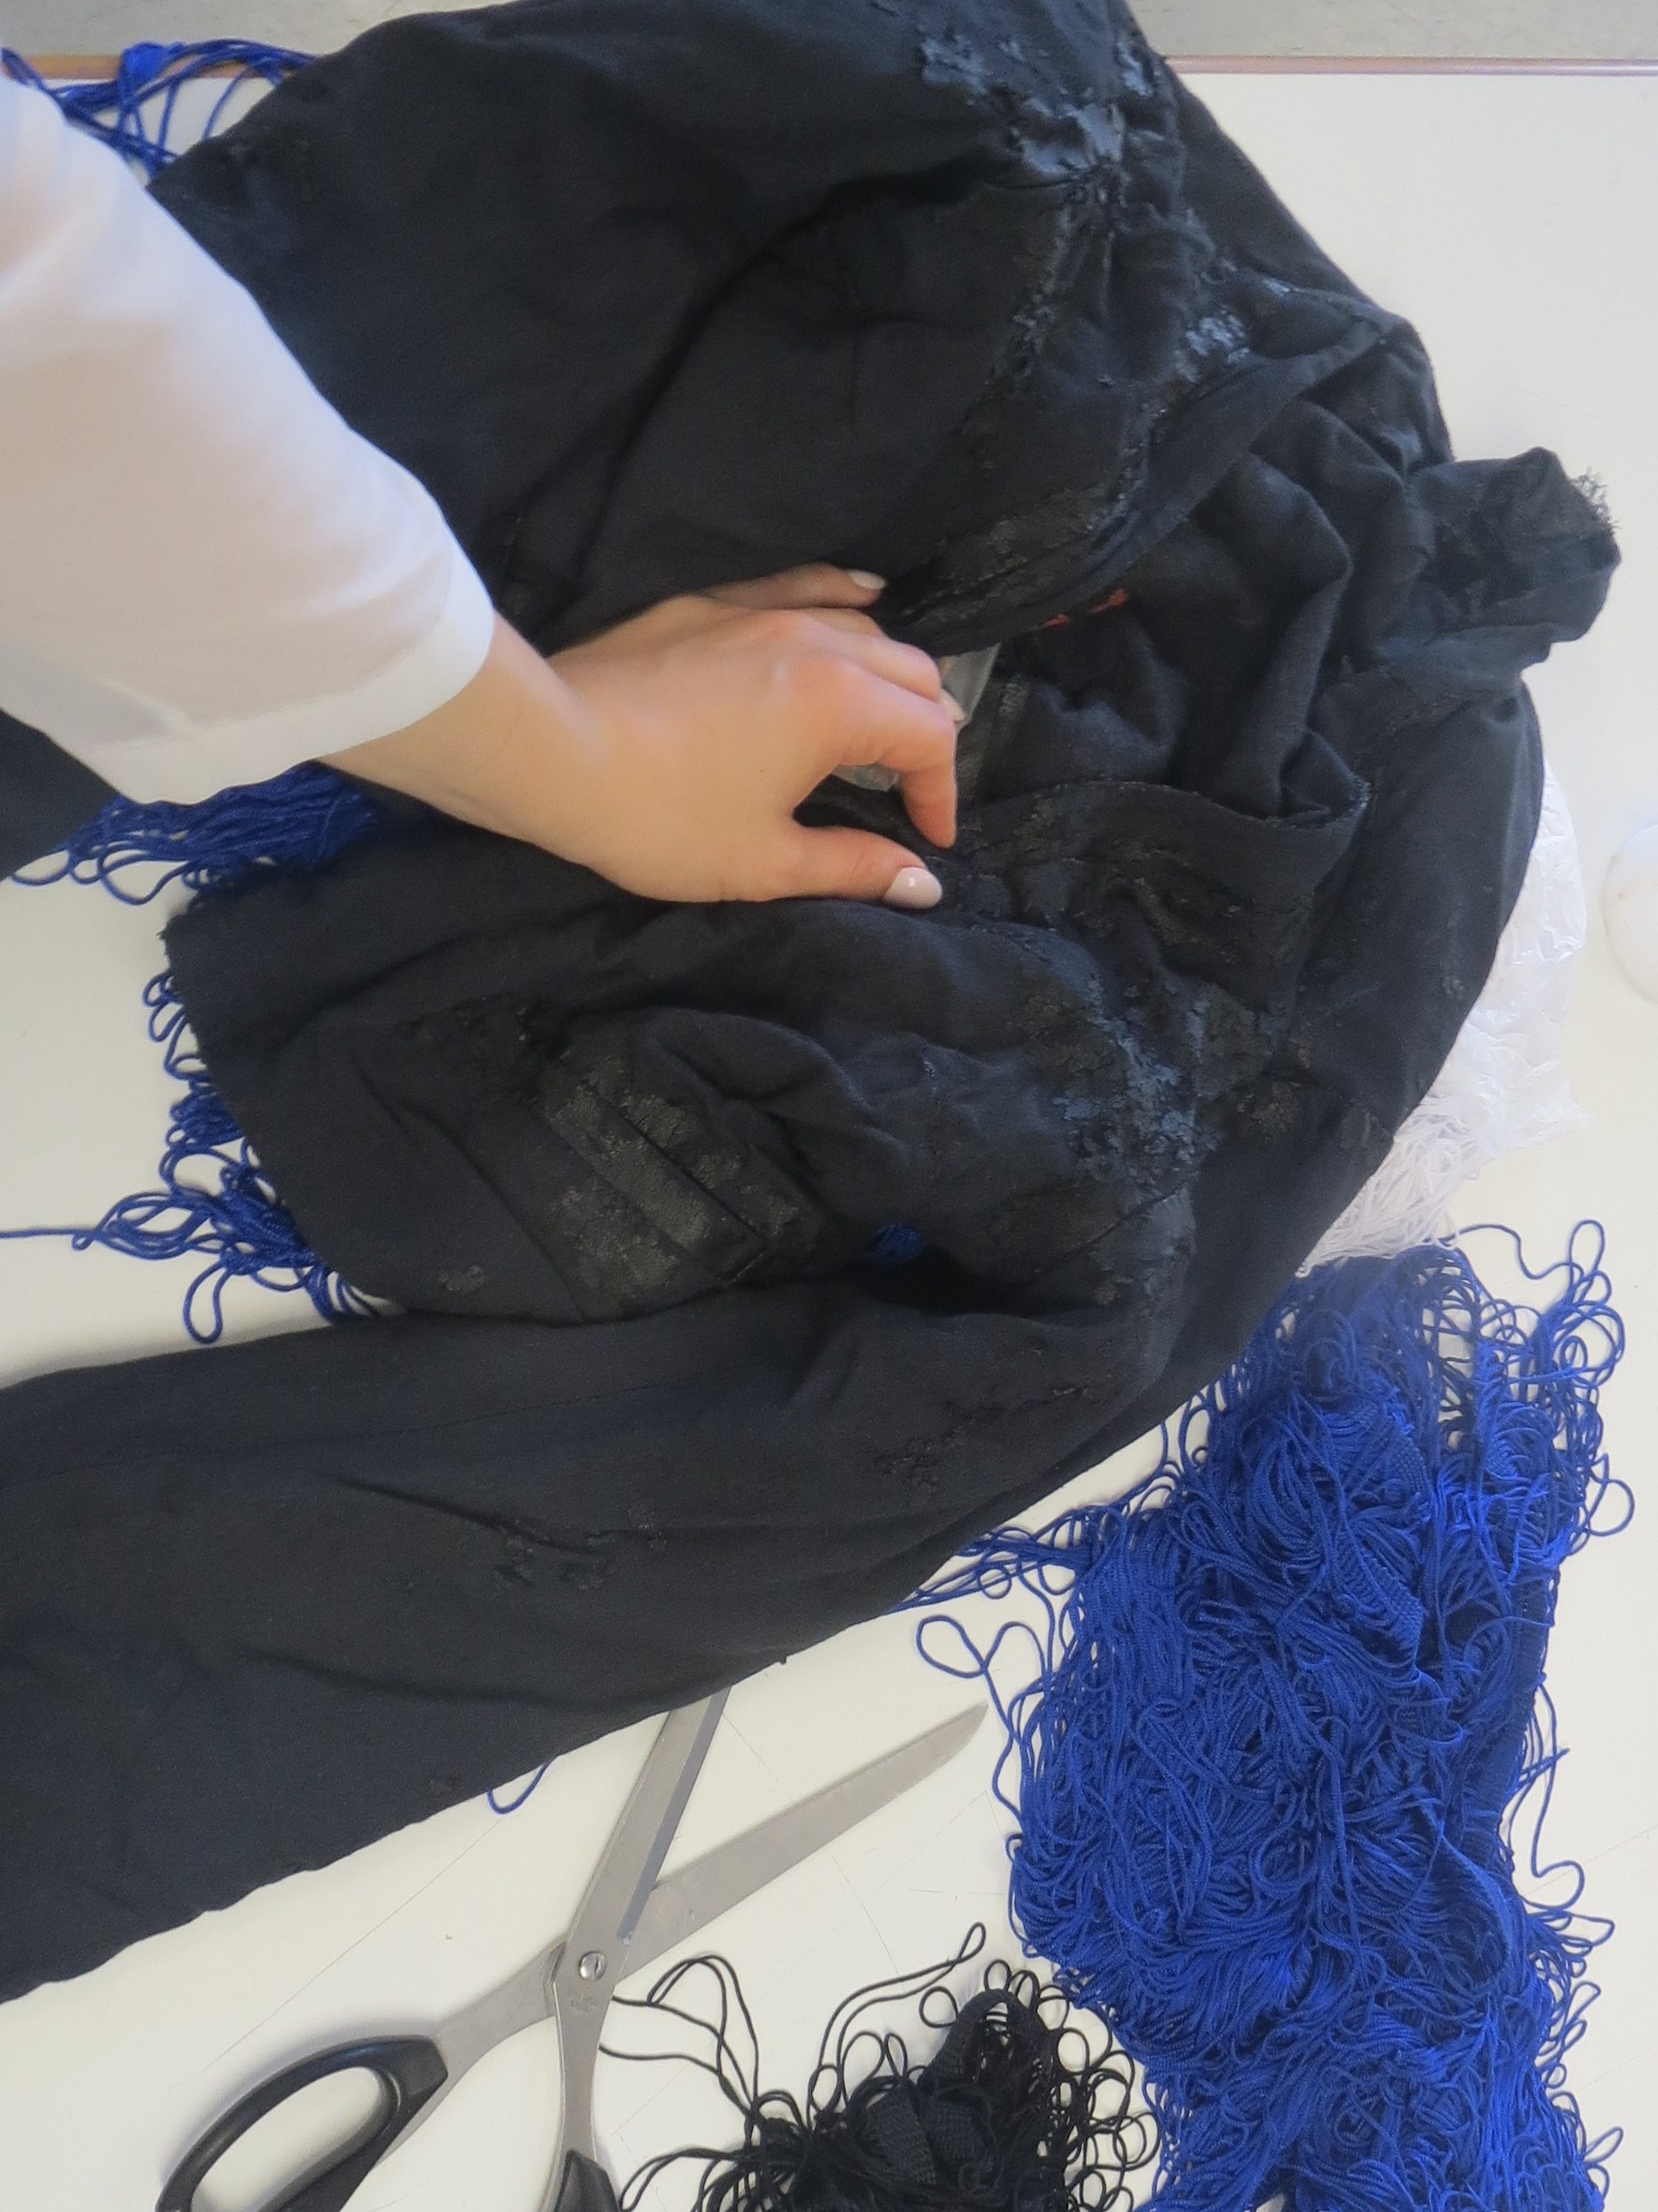
After your sewing equipment are ready the fun part begins. My jacket had the inner lining so I needed to open the whole jacket before I started to sew on fringes. If your jacket does not have any lining, good for you haha, it will make your life so much easier and the whole process quicker. In case it has the inner lining carefully cut it and make sure to open it by the stitches of the sleeves and at the bottom. Be careful that you follow the stitches because you will need to sew lining back for the perfect finished look. Once the inner lining is open draw straight horizontal lines with the fabric chalk. Then saw each line of fringes by the line. I started to sew individual lines of fringes from the bottom to the top as this way it is so much more convenient so that the fringes do not mess around while you sew:) I started with the blue one and added white fringes at the end on the sleeves. Check out the final outcome in the next step.
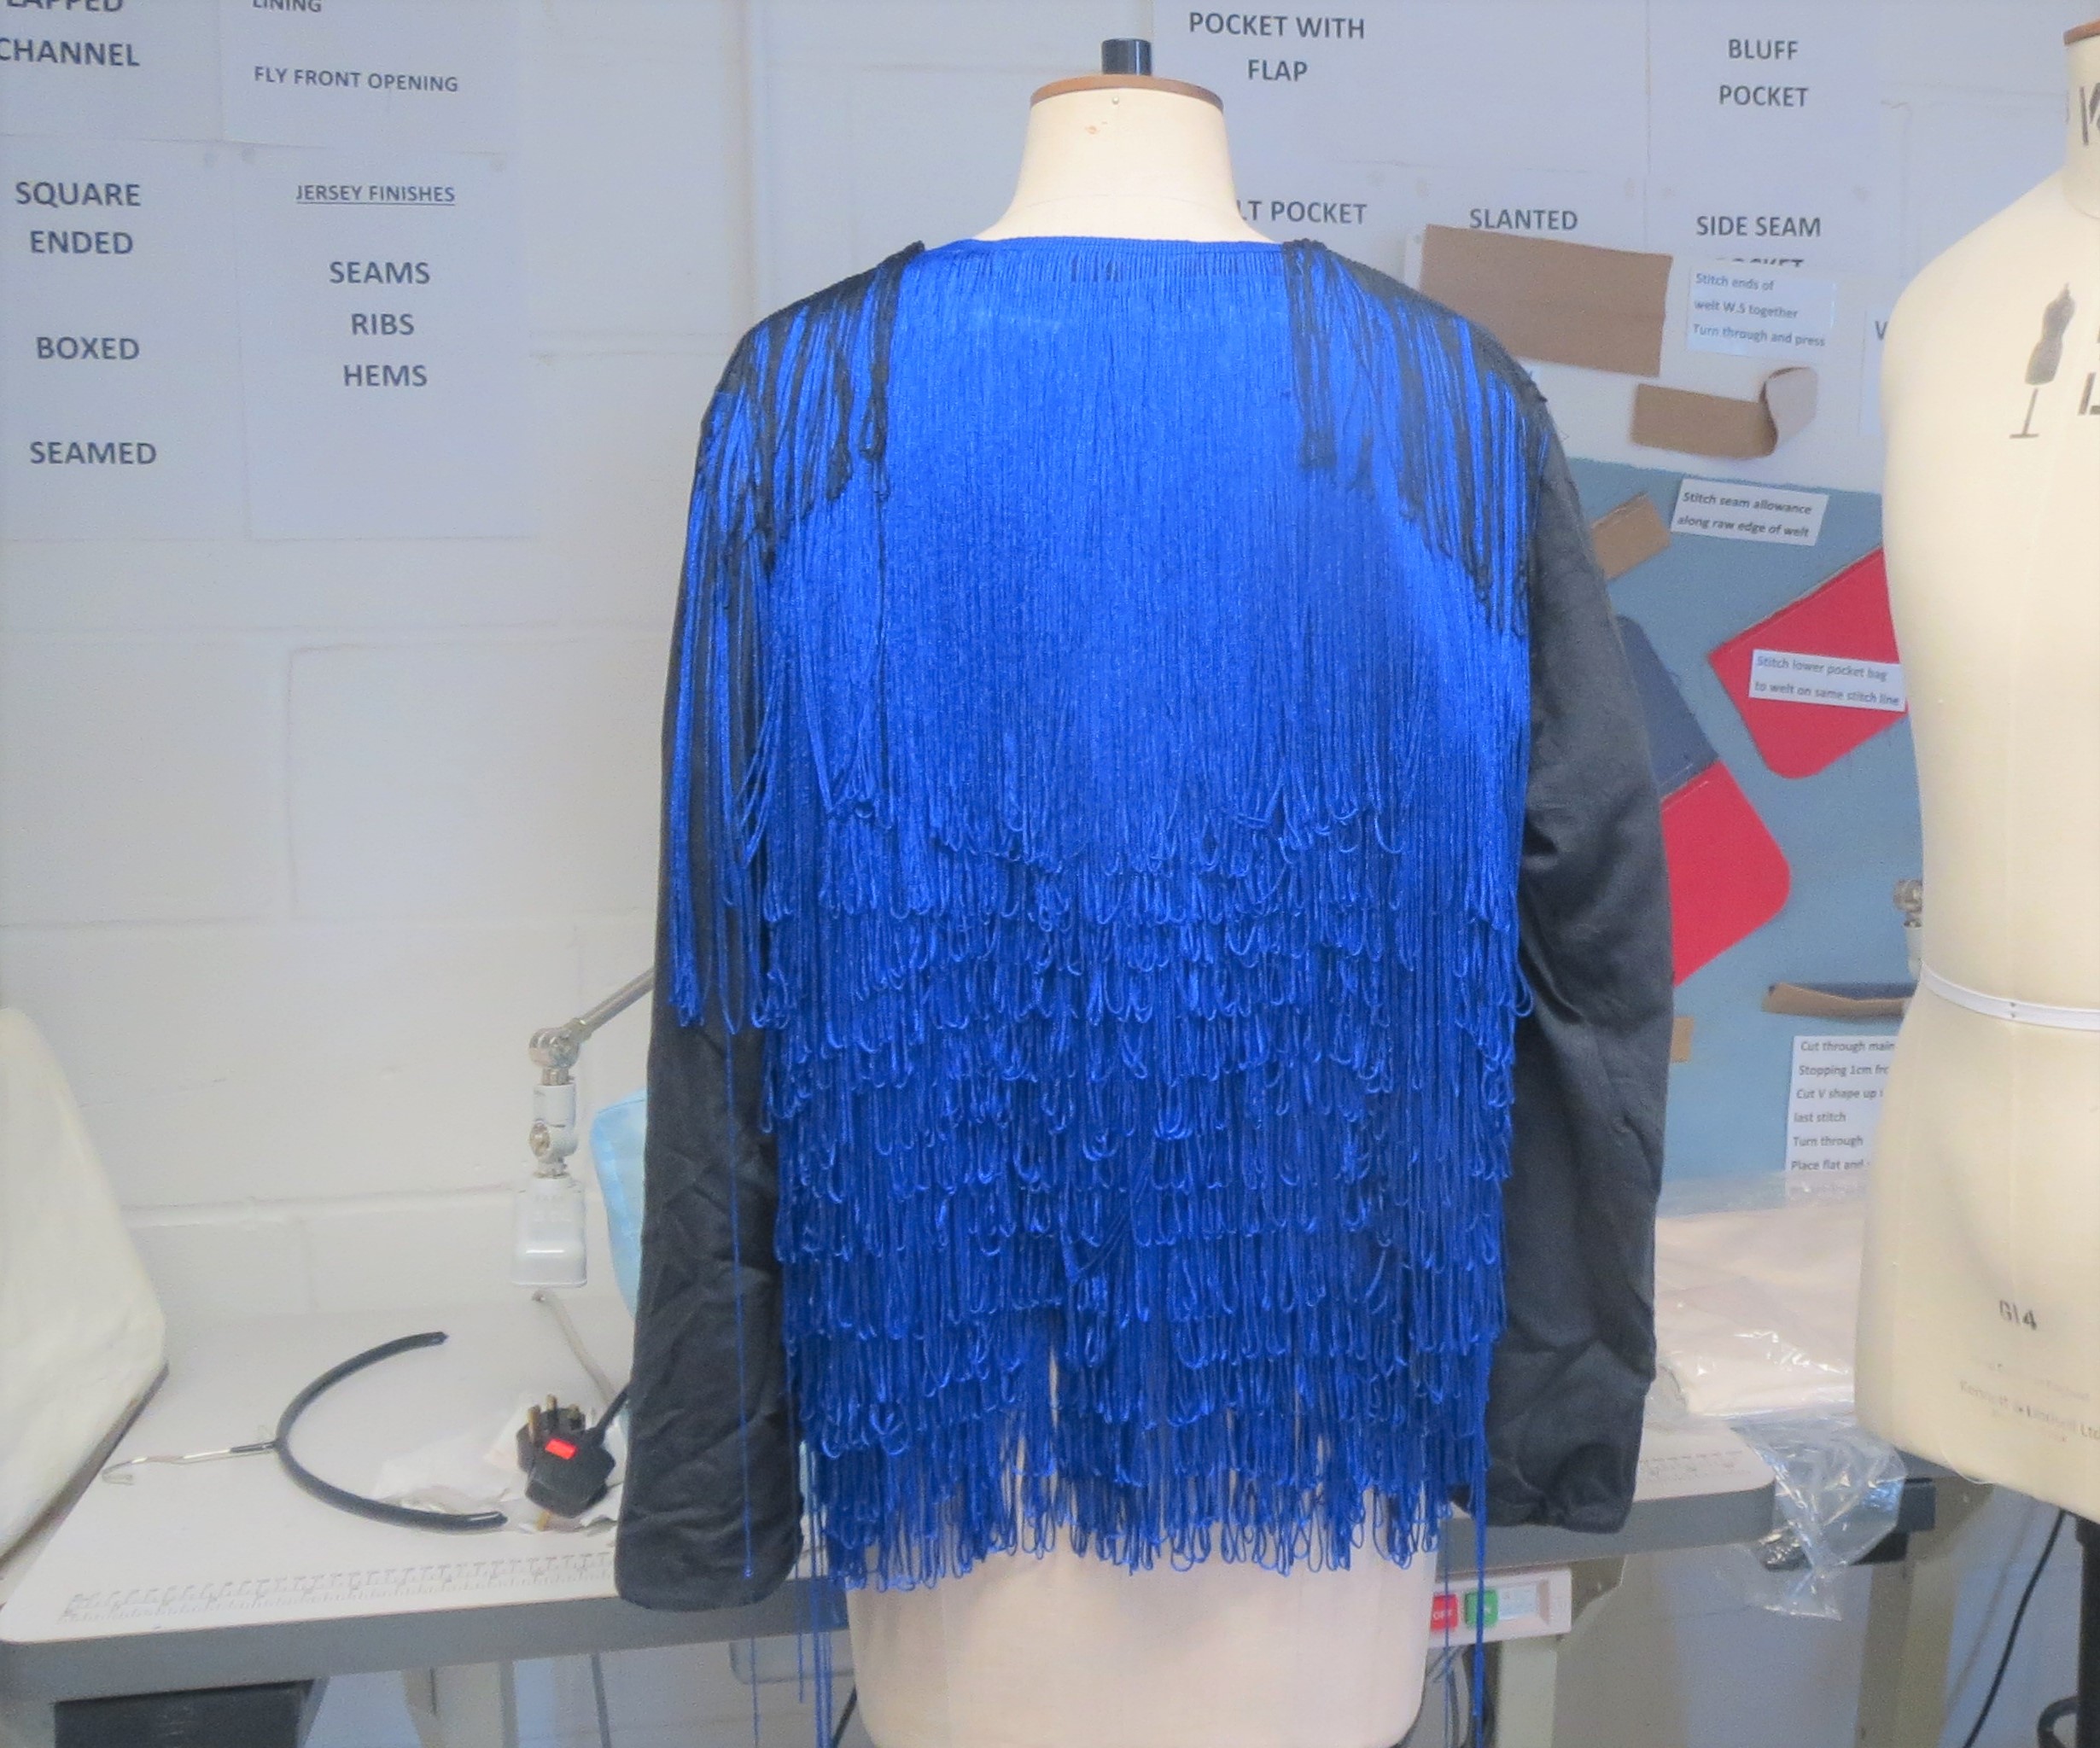
3. Tadaaa, you and your jacket are ready to rule the world
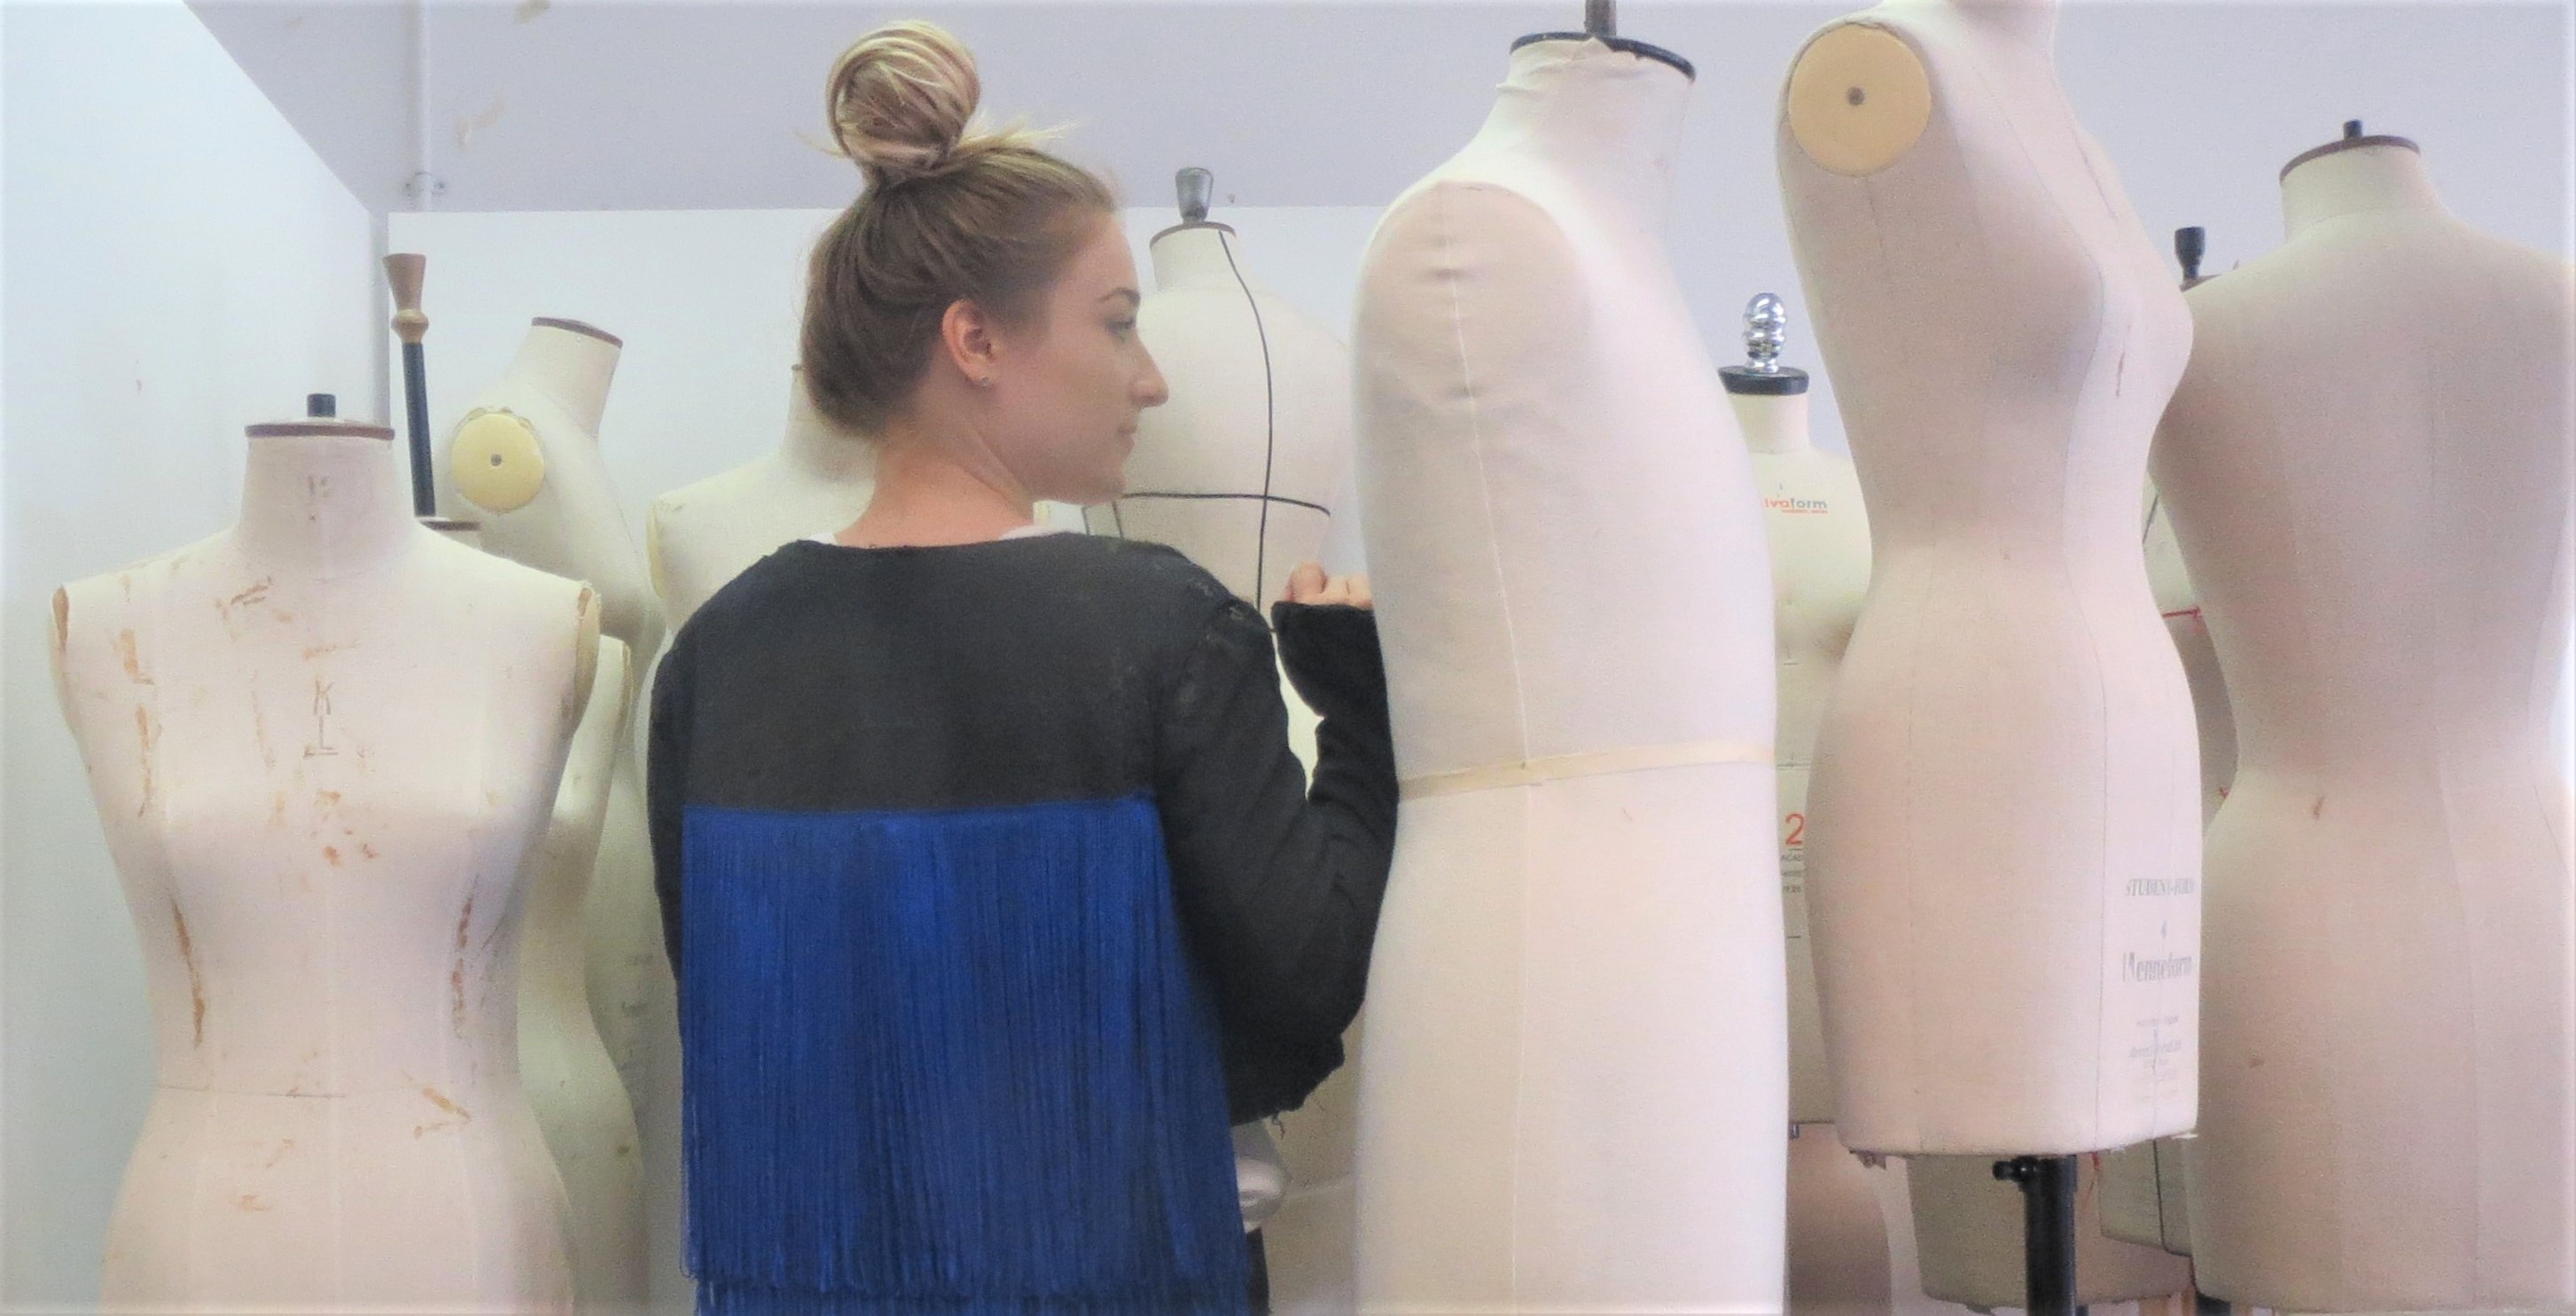
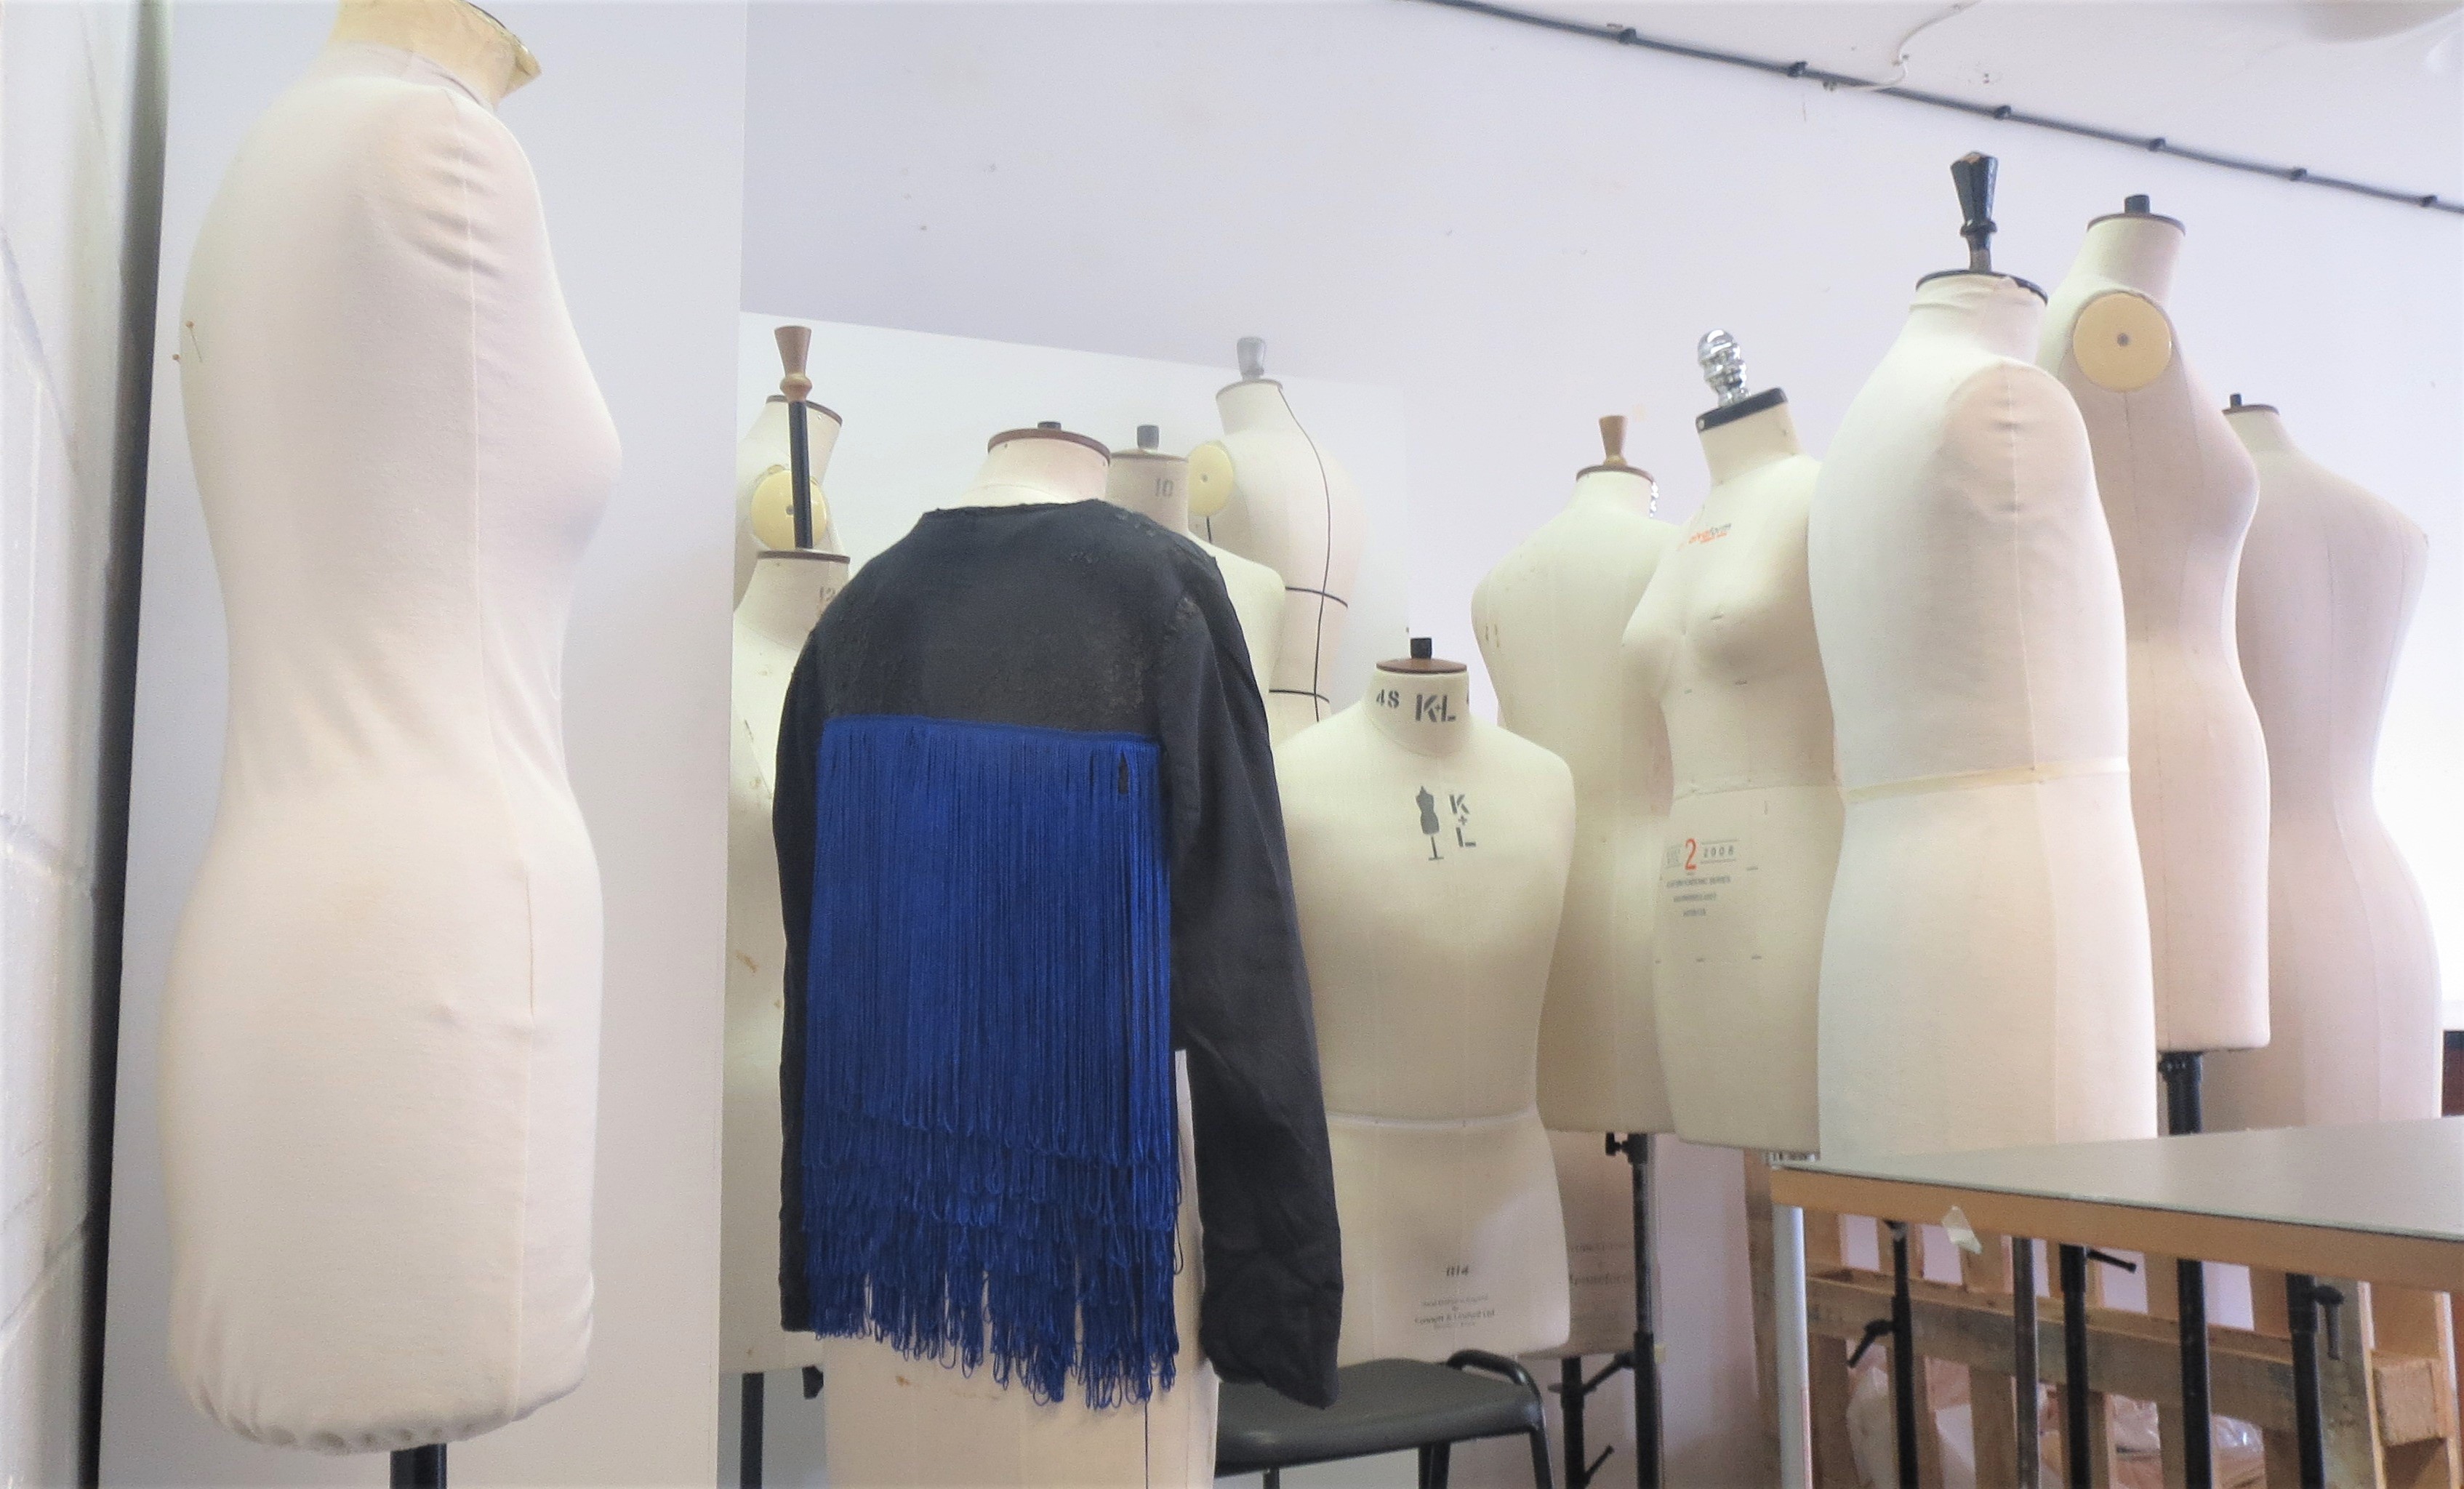
As you can see I started to sew blue fringes from the bottom to the top and then added white one on the sleeves and at the front.
So, here comes your new DIY fringed jacket ready to conquer the world:) Hope you enjoyed this little DIY of how I made my jacket and would like to see how you make yours! Otherwise, I hope I inspired you to start making and re-designing your own clothes, which we all have too much. See you soon.


